Here’s How to Make Built-In Dining Room Cabinets with Floating Shelves
Mahria and her family are here to inspire you to tackle your next DIY or home décor project. Follow along on Instagram as they renovate their home, sharing all things DIY and décor along the way.
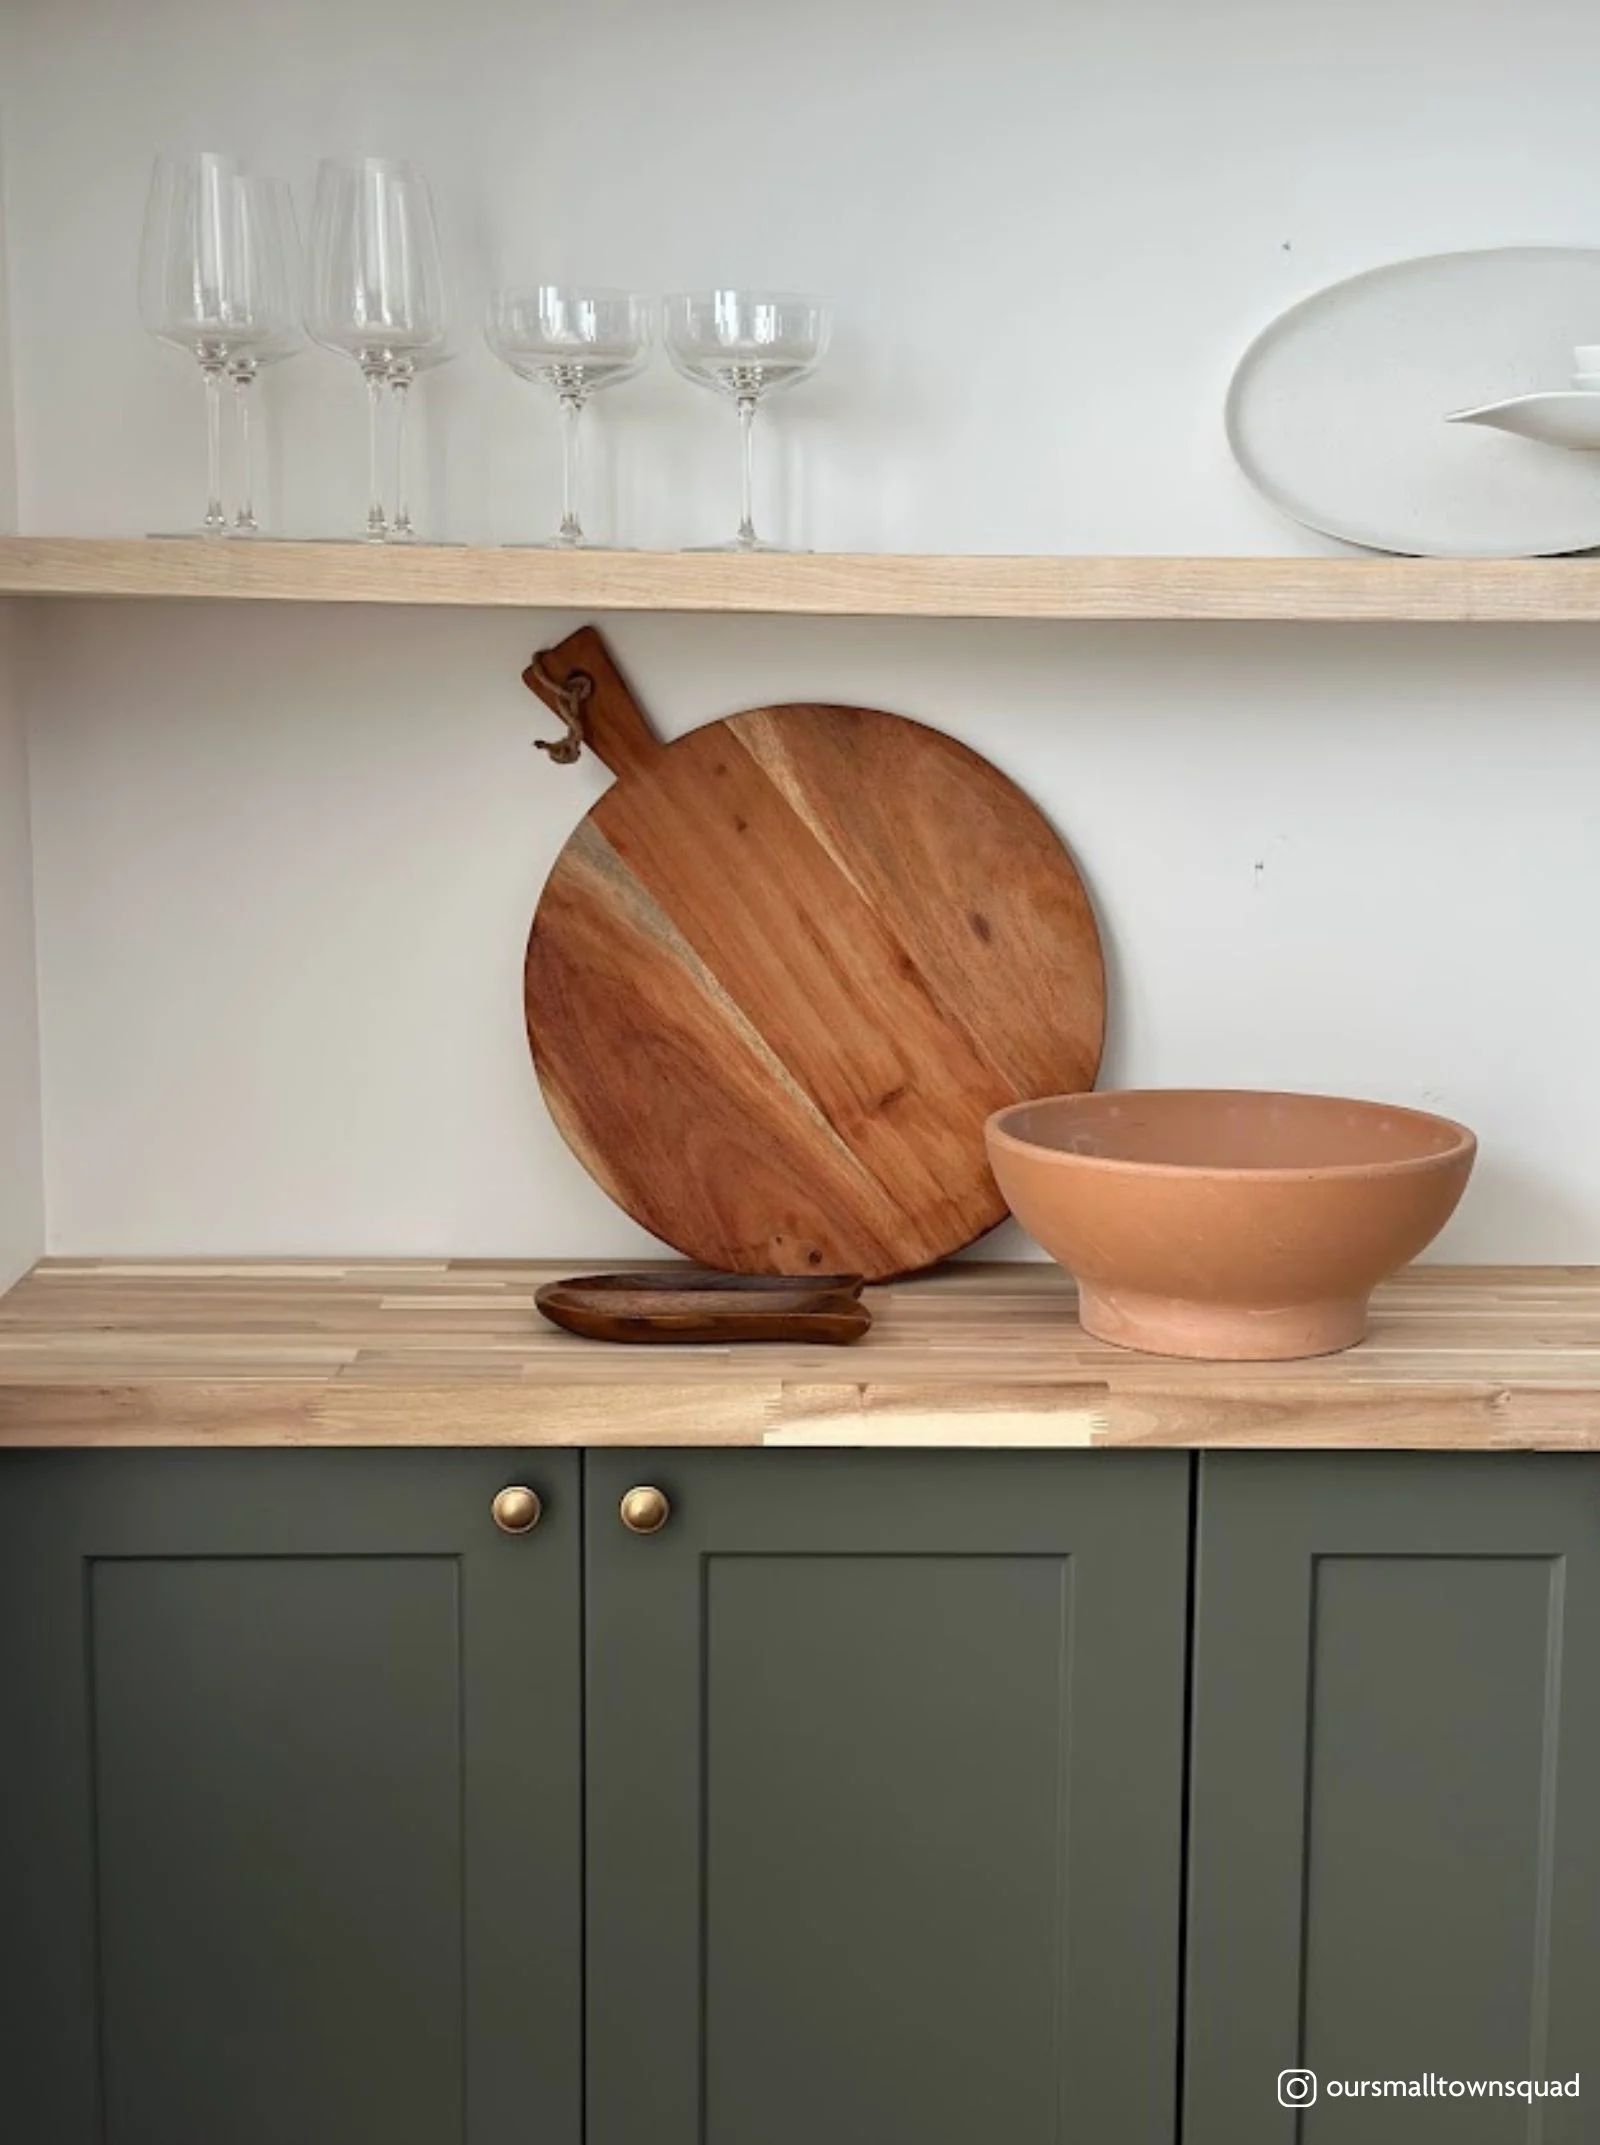
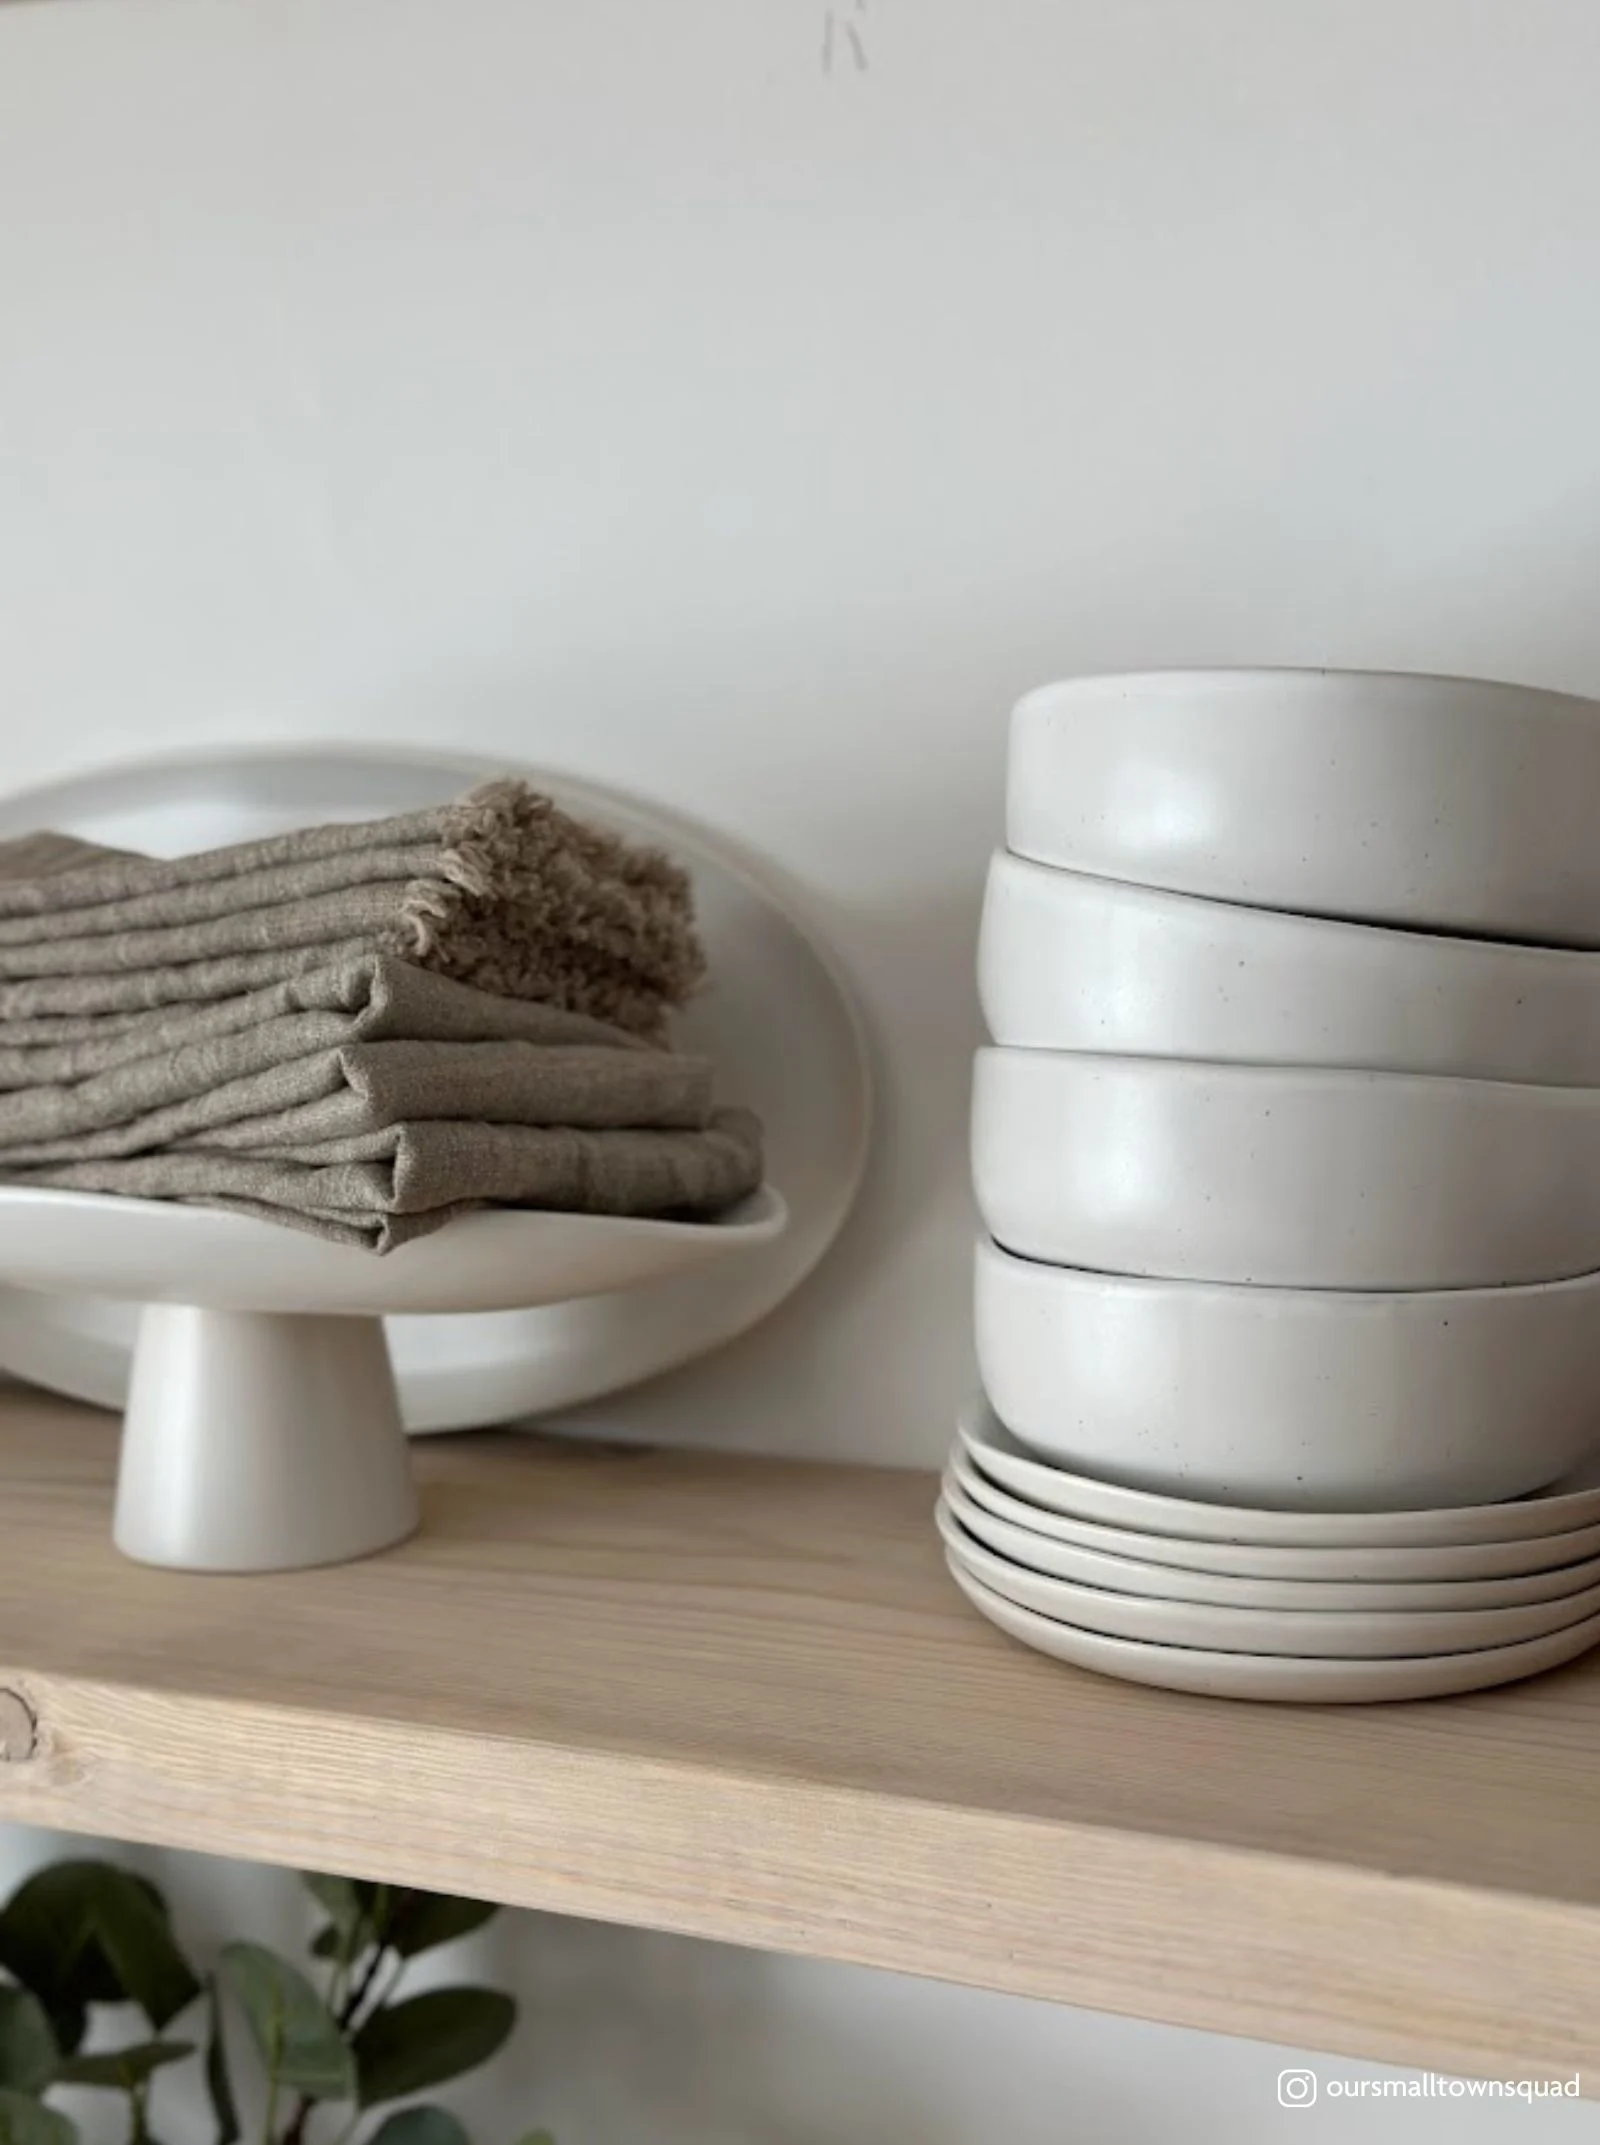
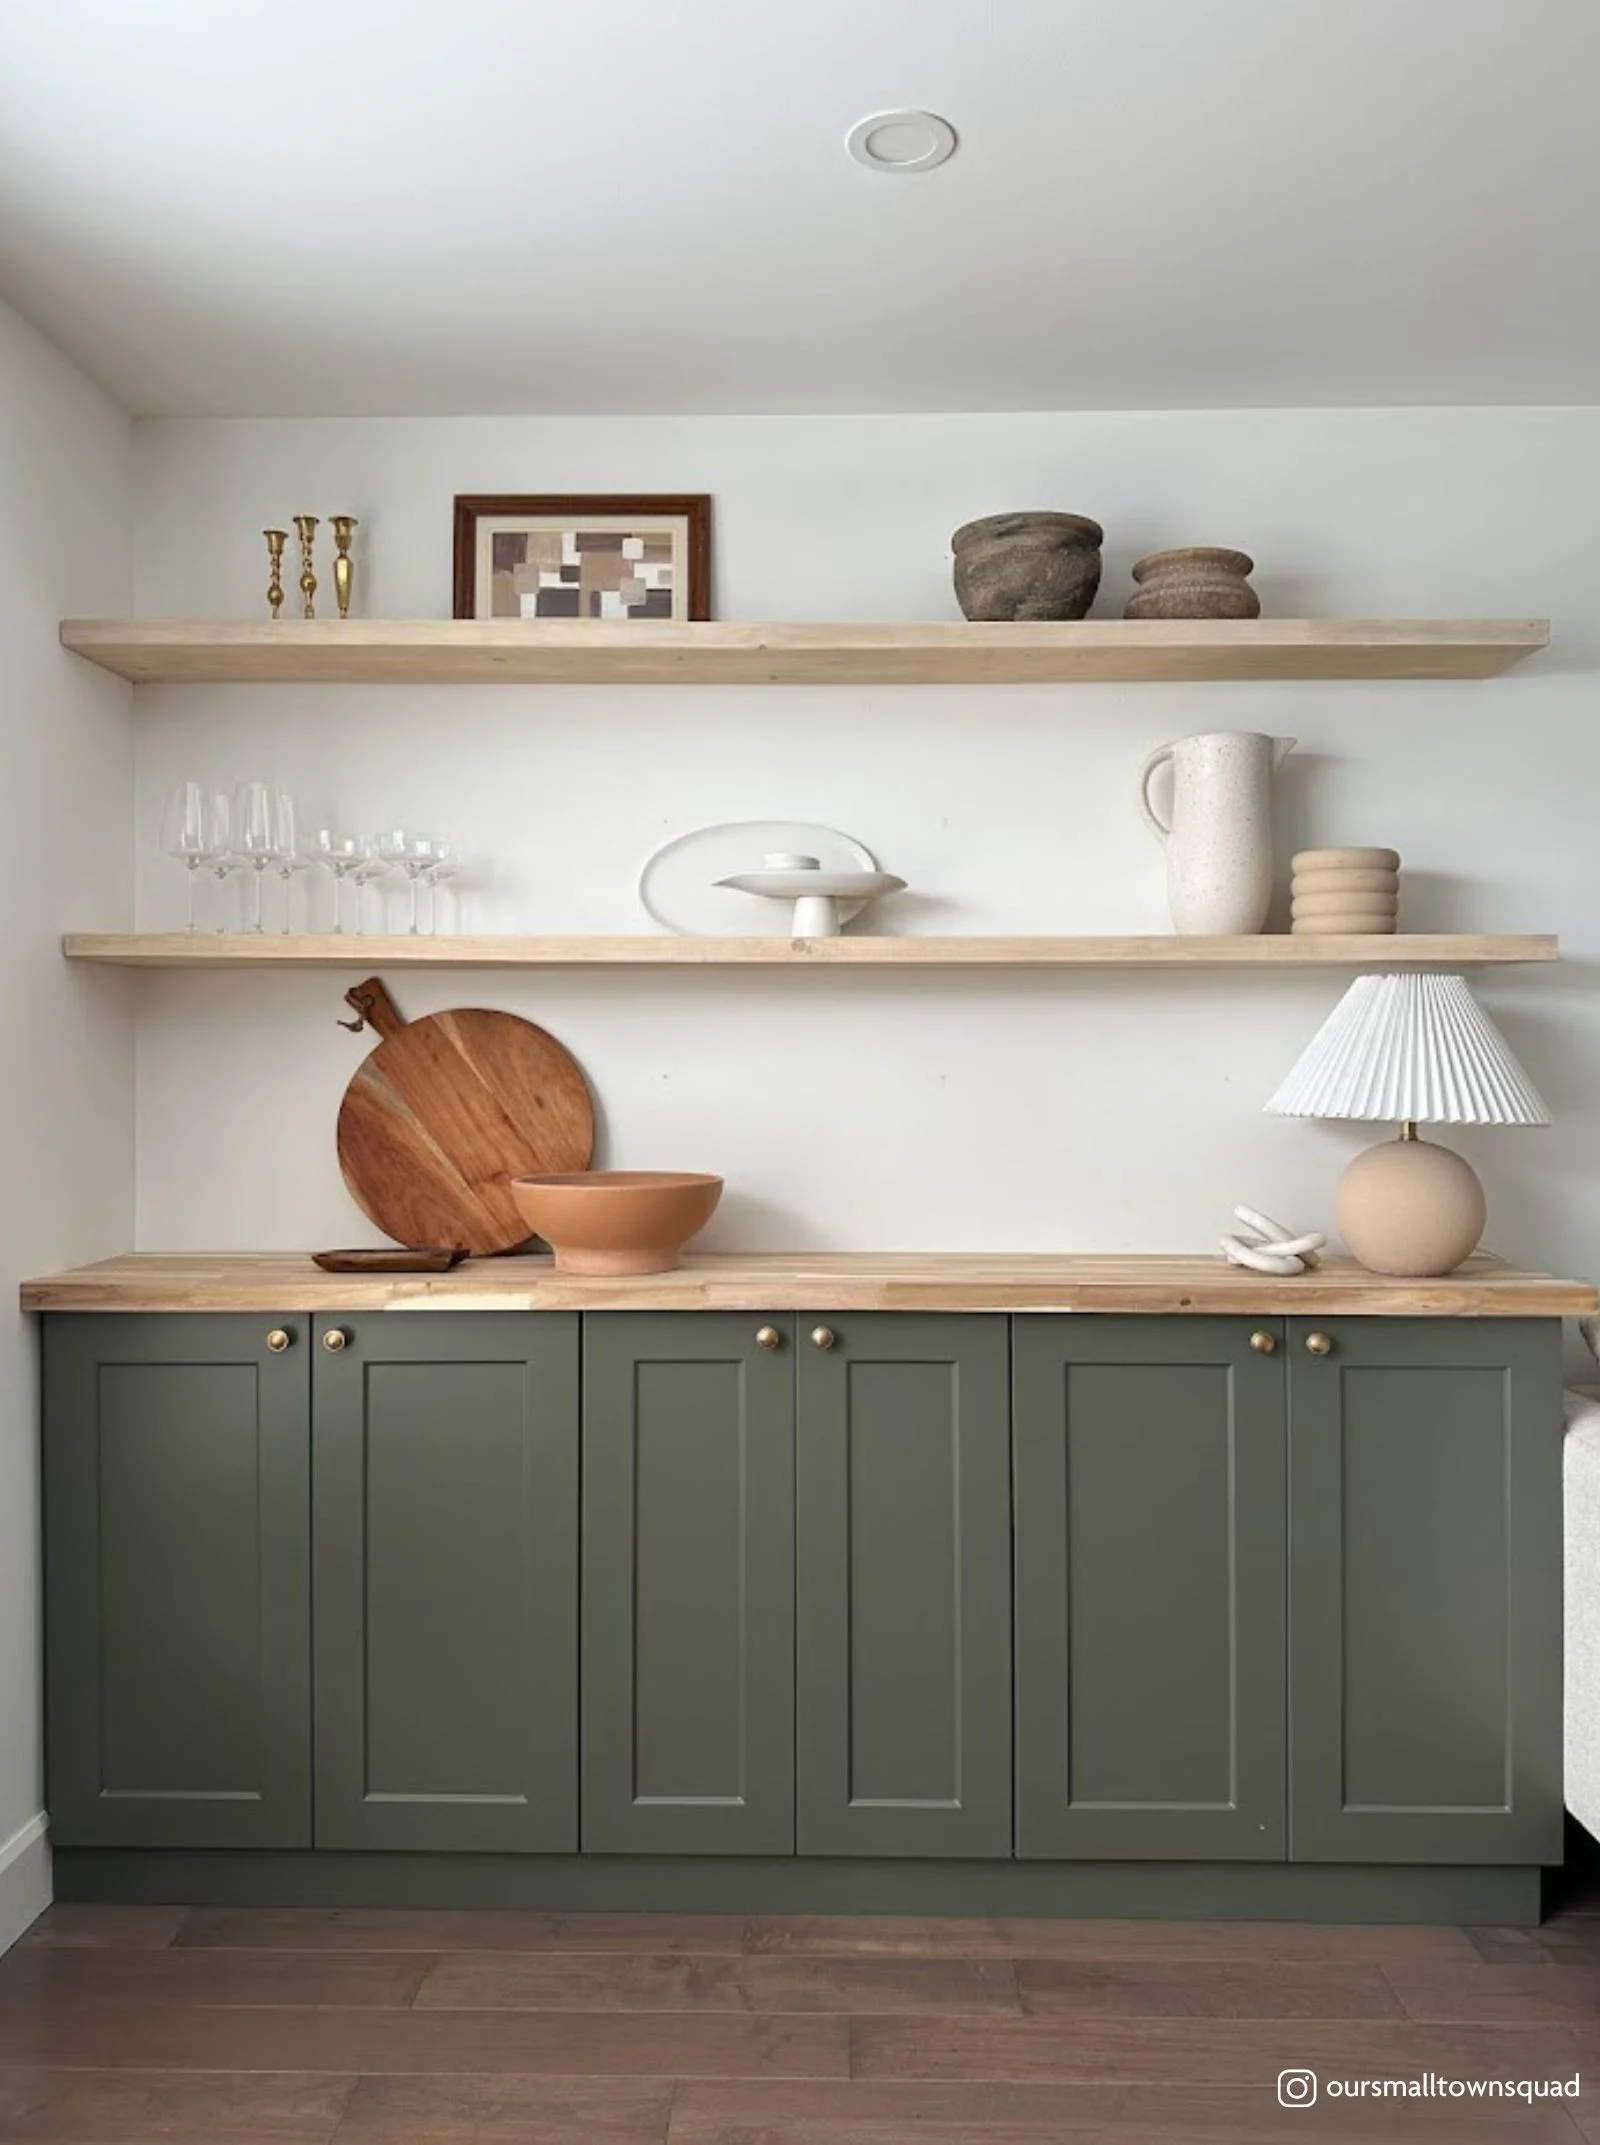
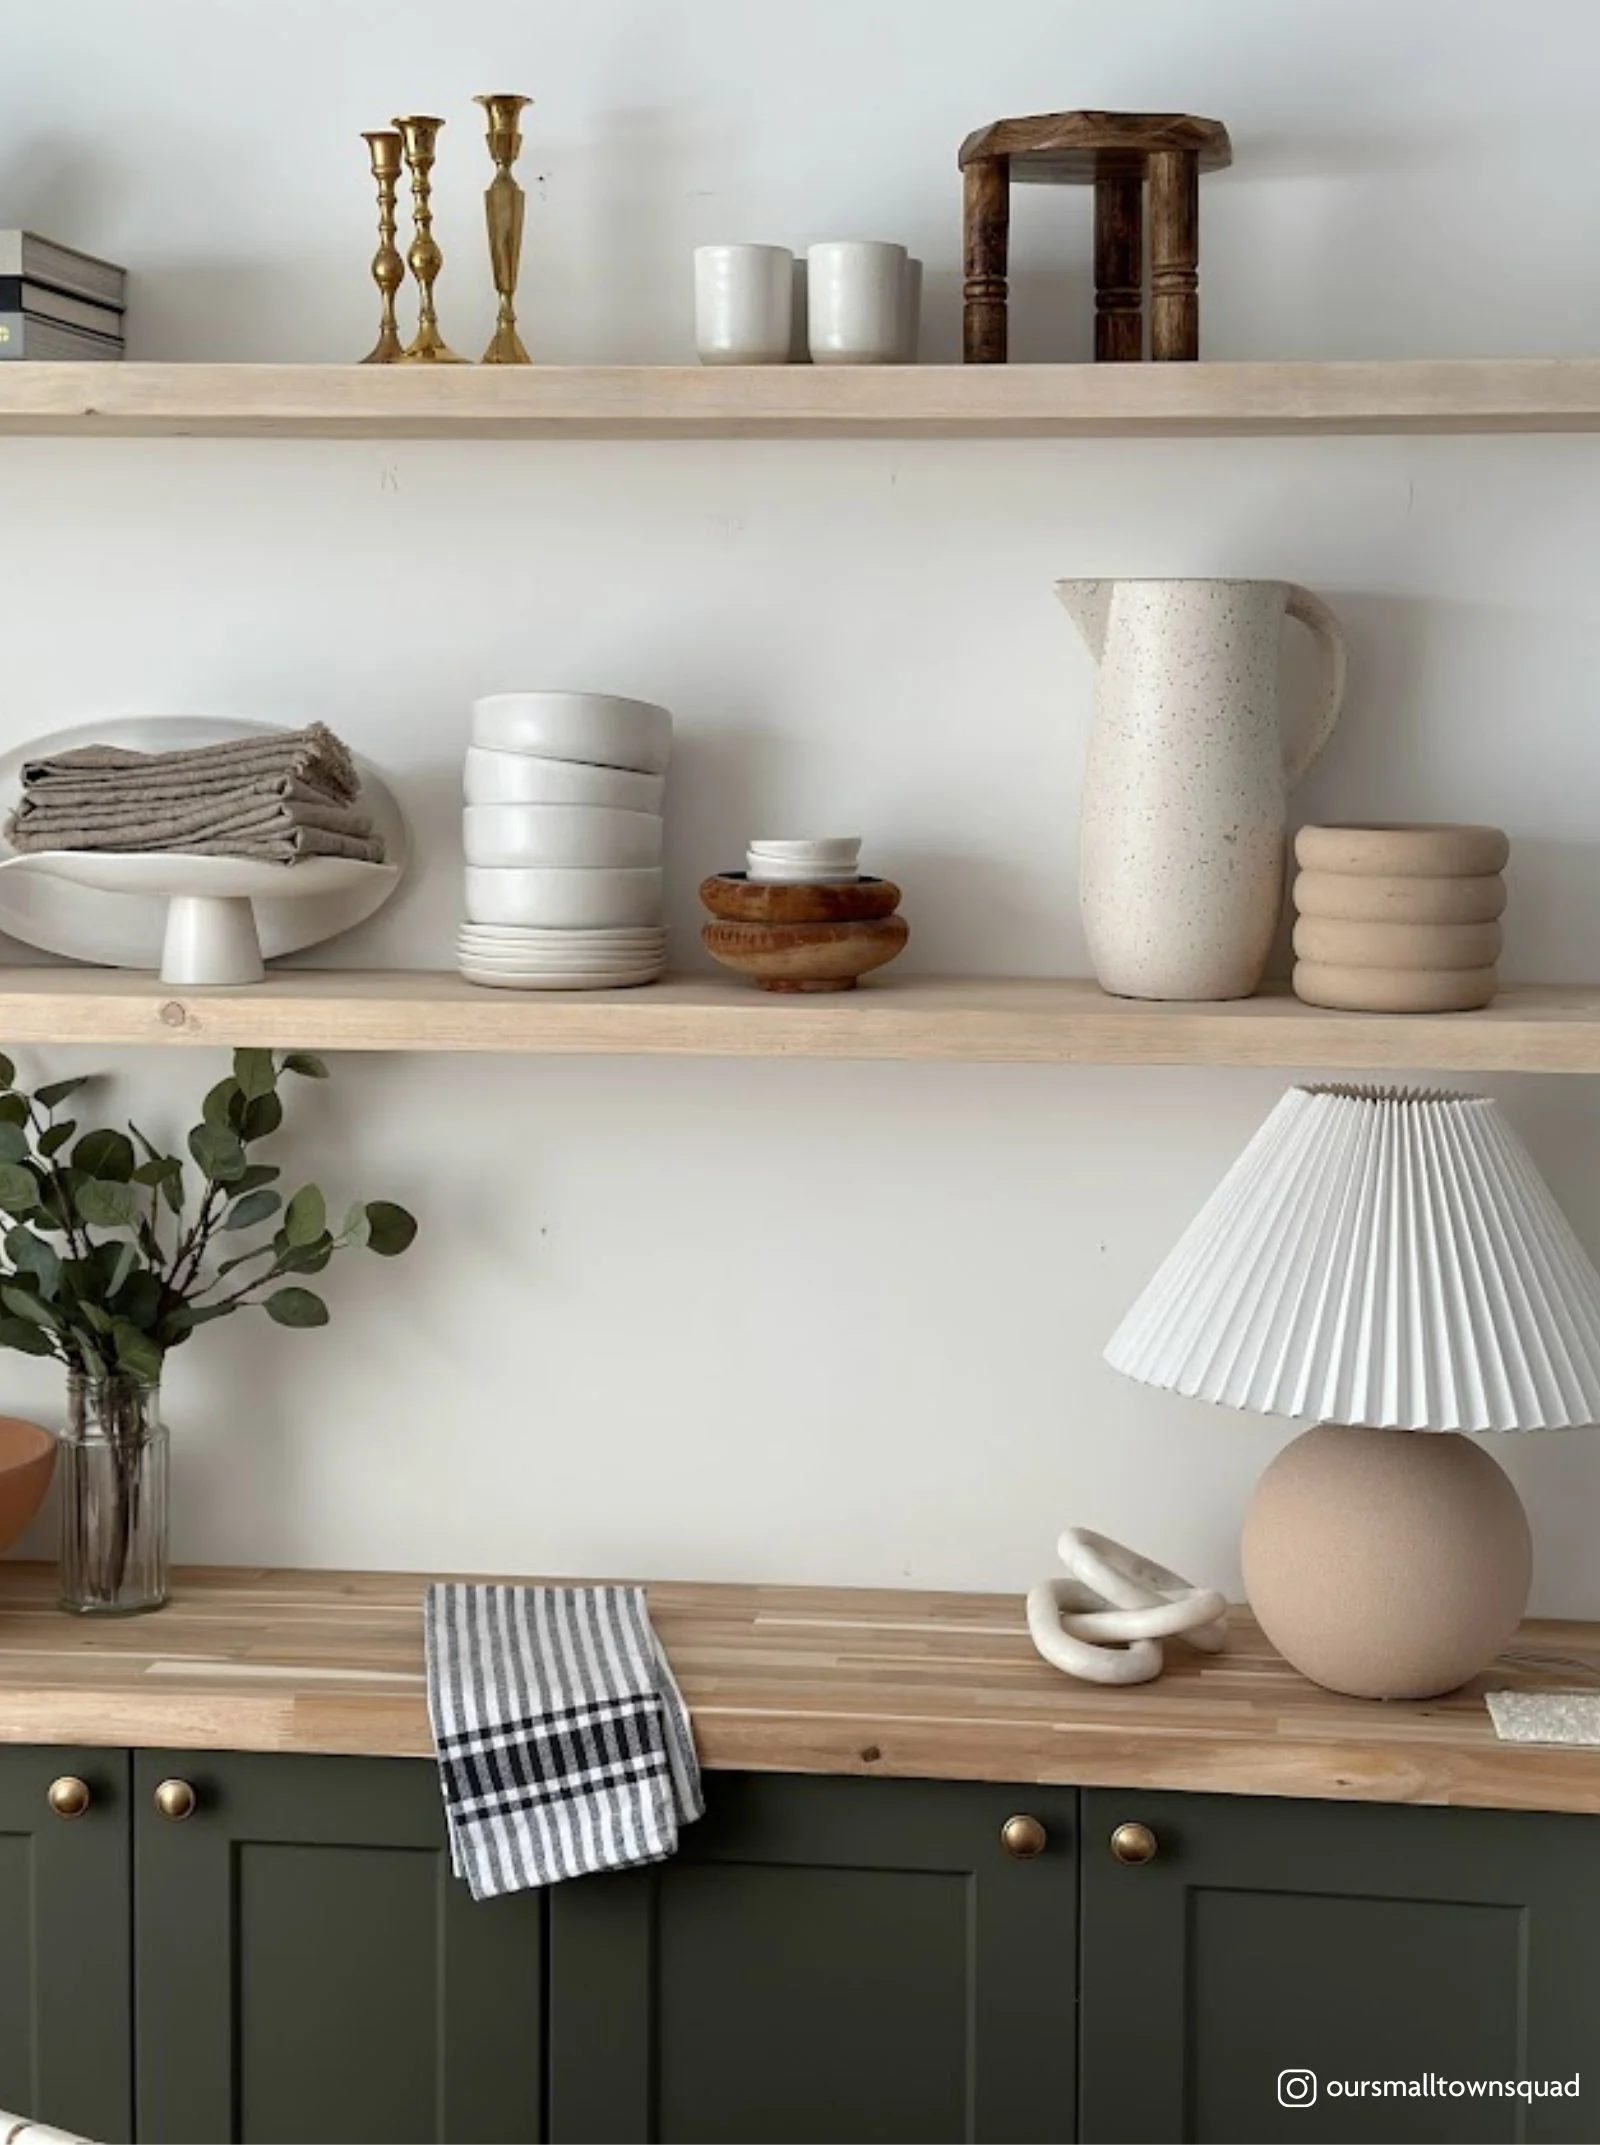
Built-in cabinets can be a great addition to any room because the custom sizing allows you to maximize the use of space. You’ll have more storage space, plus for a small dining room you’ll have more room to move around or add seats for larger gatherings. From a décor standpoint, the additional shelving offers a great way to display favourite plates and servers, or even seasonal dishware. Follow DIY expert Mahria Stam’s easy steps to make your own built-in dining room cabinets.
Here's What You Need
Here's How to Do It
This is a project I’ve wanted to do for years, but it always got pushed to the bottom of our list. Maybe the waiting paid off because we finally hit on a unique storage solution for our small dining room space. We decided to go with knockdown “upper” cabinets for the base instead of proper base cabinets. The uppers are only 12″ deep, which offers much more room for movement around our table while still providing lots of storage. We found all the tools and supplies we needed at our local Home Hardware. They were also a big help with design advice and construction tips along the way.
Step 1: Building the Base
A base wouldn’t normally be necessary, but because these are upper cabinets they don’t come with feet, so we used 2x4s to build a base that will sit directly on the floor under the cabinets. This will support them and help take the weight off the wall once the cabinets are installed. Our base was 84” x 10” with a bracket every 16 inches. We went 2” smaller in depth to let the cabinets hang over the base. The 2x4s will be covered with a kick plate and painted to match the cabinets for a full custom look.
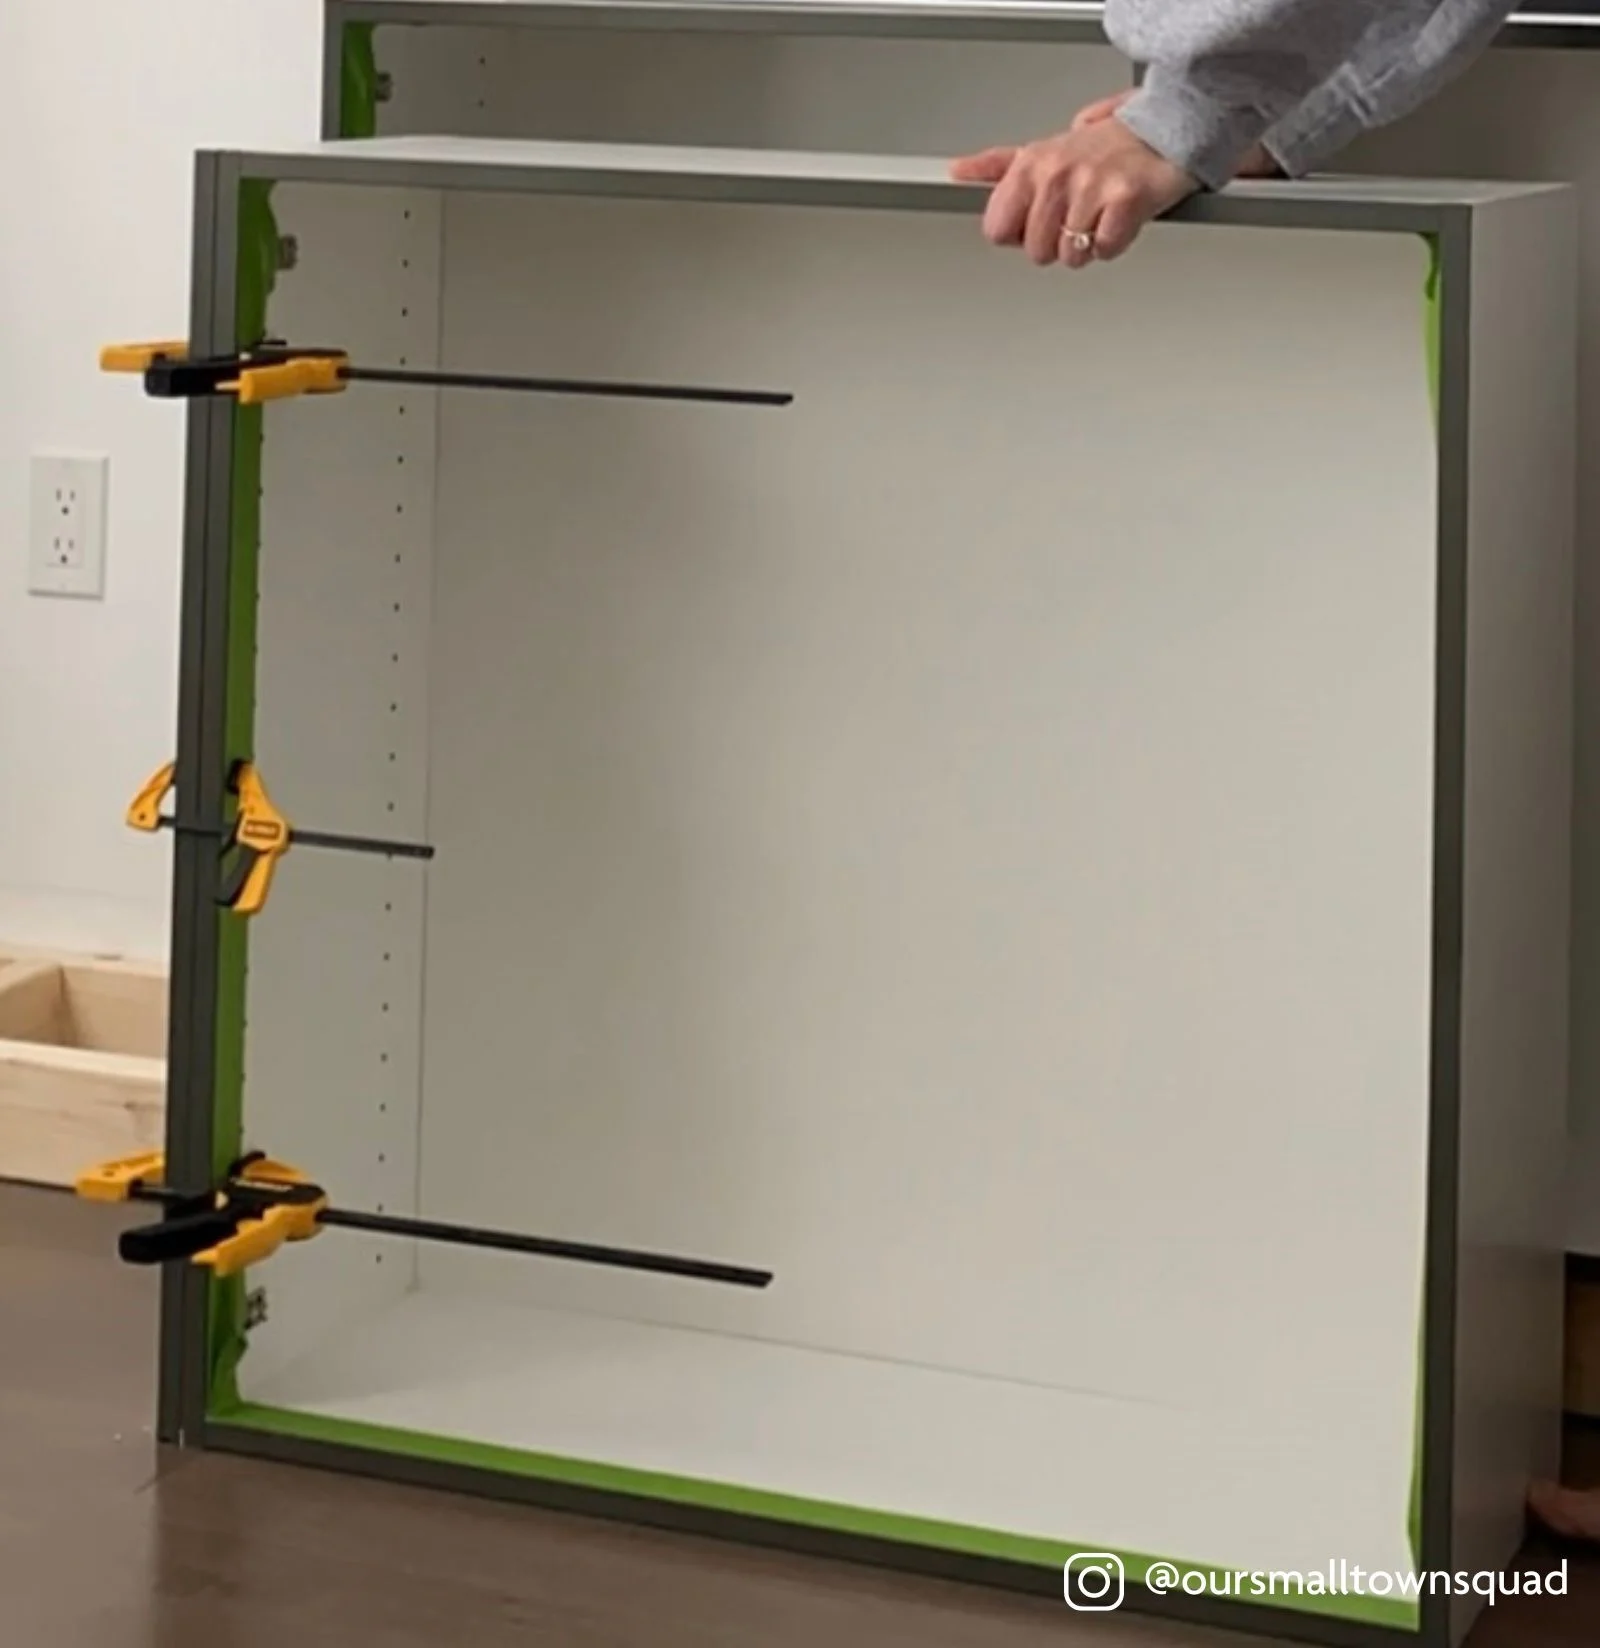
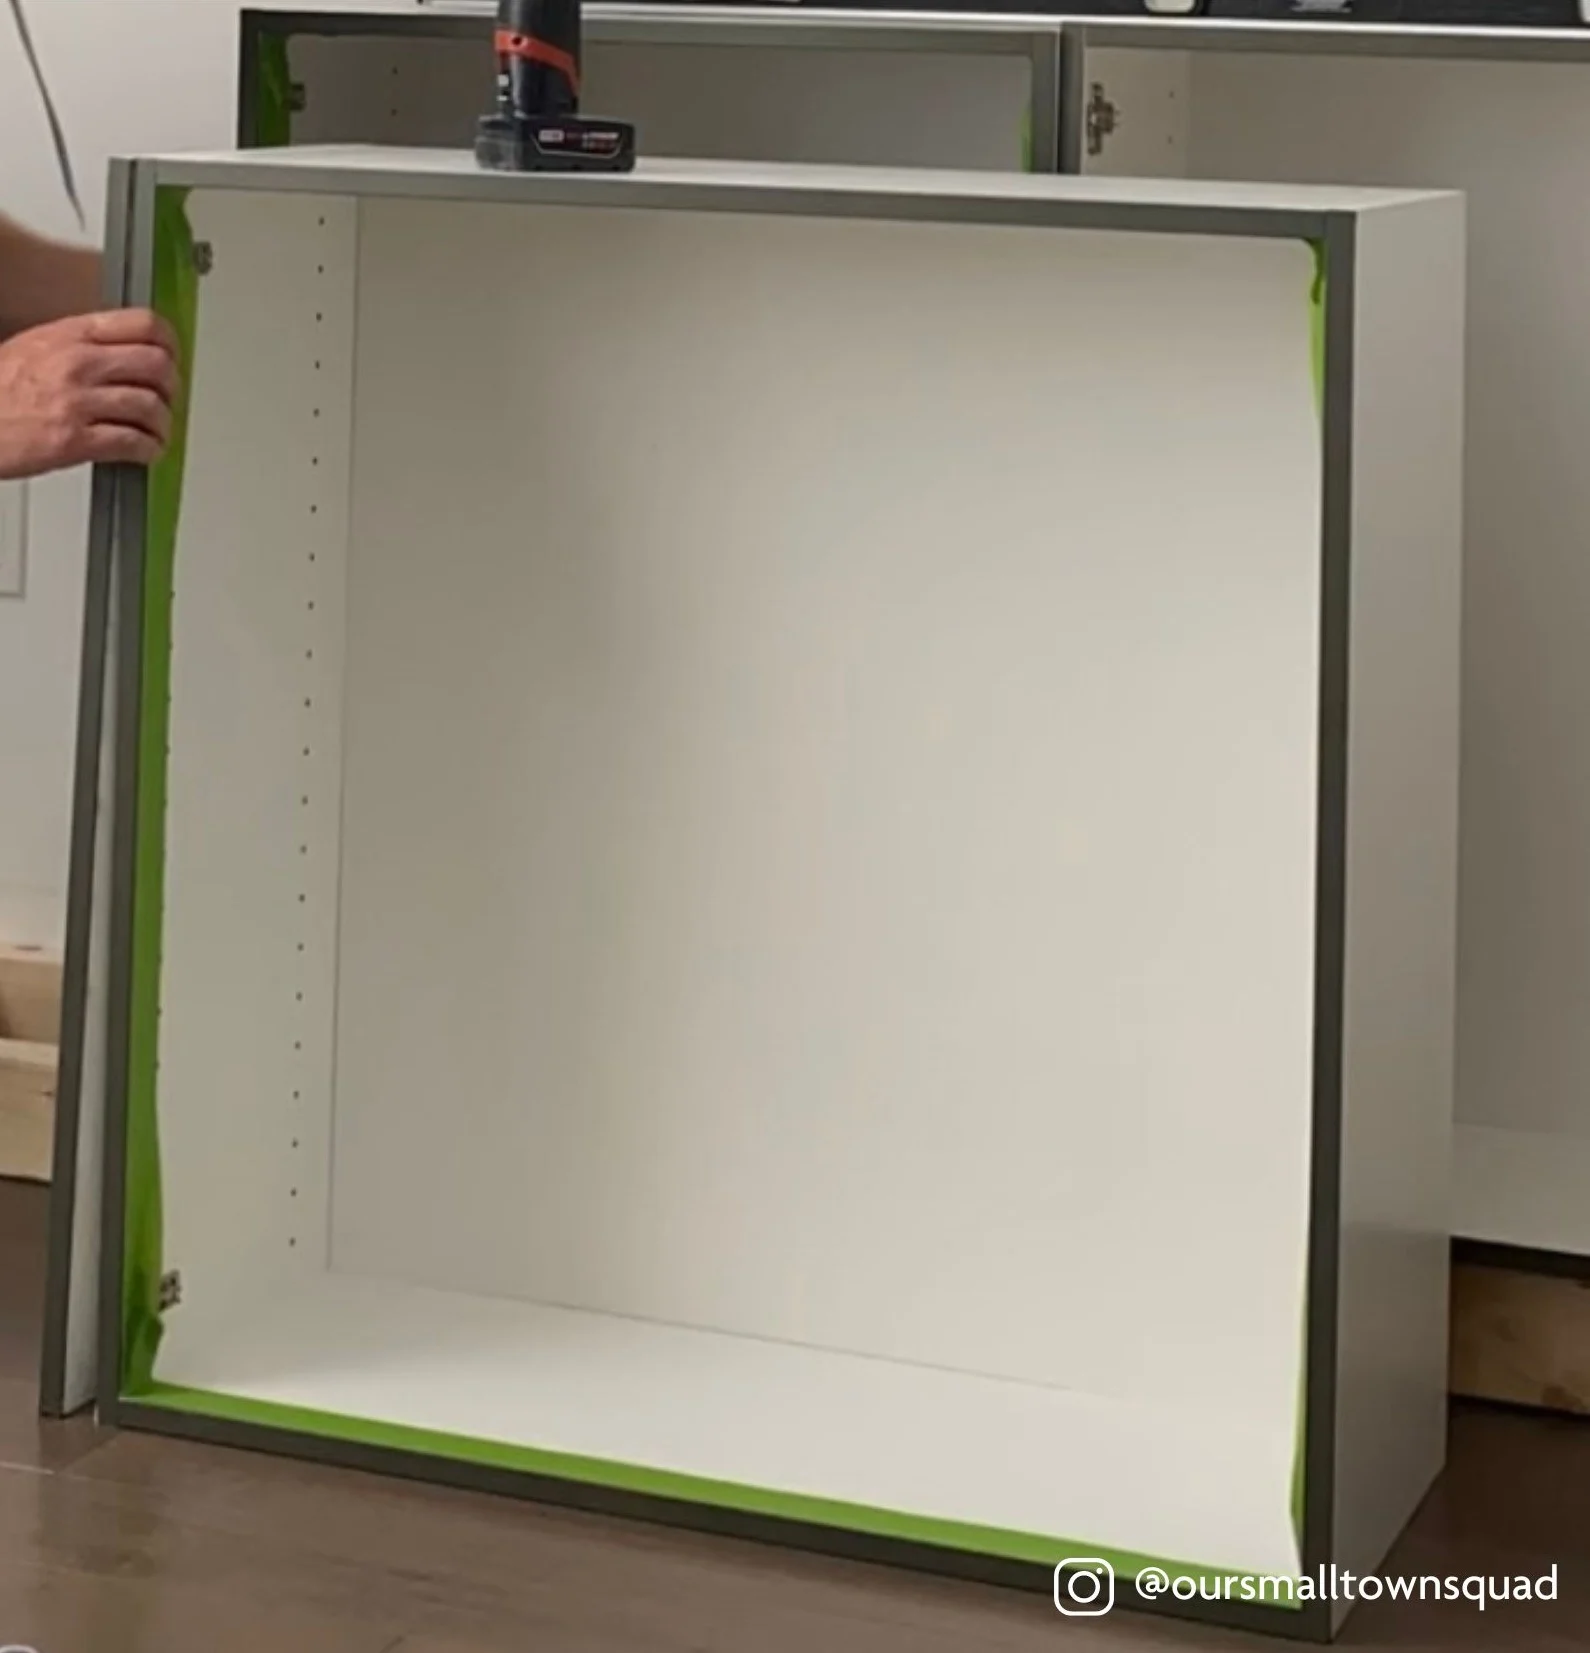
Step 2: Assembling & Installing the Cabinets
Assembling the cabinets was easy, we followed the instructions and had all three completed in 20 minutes. Then we placed the cabinets onto our base, found our studs, and attached them to the wall with 2” wood screws. We also added spacers because our cabinets were going to be pushed directly against the wall. Otherwise, the cabinet doors may not fully open (or depending on your trim size, not at all!). We used scrap wood to make 1” spacers and attached them directly to the side of the cabinet with screws (the side won’t be visible, so it does not have to be pretty). Then we painted the front edge to match the cabinet doors.
Step 3: Sanding & Painting
We lightly sanded our cabinets and doors with 220-grit sandpaper, then wiped them clean with soap and water to remove all sawdust and debris. Next, we applied two coats of interior primer. I let it sit for two days to completely cure before painting. For our paint I chose BeautiTone Cabinet & Furniture paint in the colour Newbury Moss, applying two heavy coats with a paint sprayer. I also primed and painted the kickplate at this time.
Step 4: Hinges, Hardware & Kickplate
Installing the hinges was also quick and easy. I popped one half of each hinge into the pre-formed holes in the cabinet doors, then clicked it into the other half hinge that we’d attached to the cabinet frame. We pre-drilled our hardware holes (1.5” in and 2.5” down from the corner) and attached the cabinet hardware. The kickplate really completed the built-in look. We cut it to length and attached it with a Brad nailer.
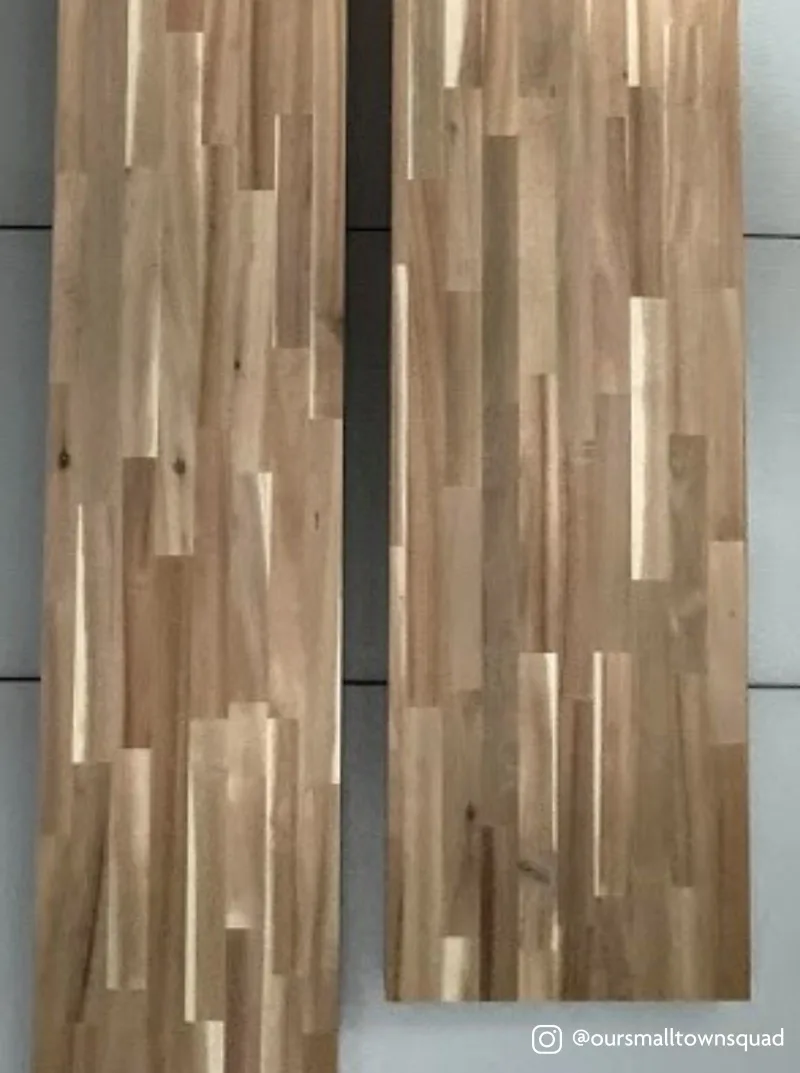
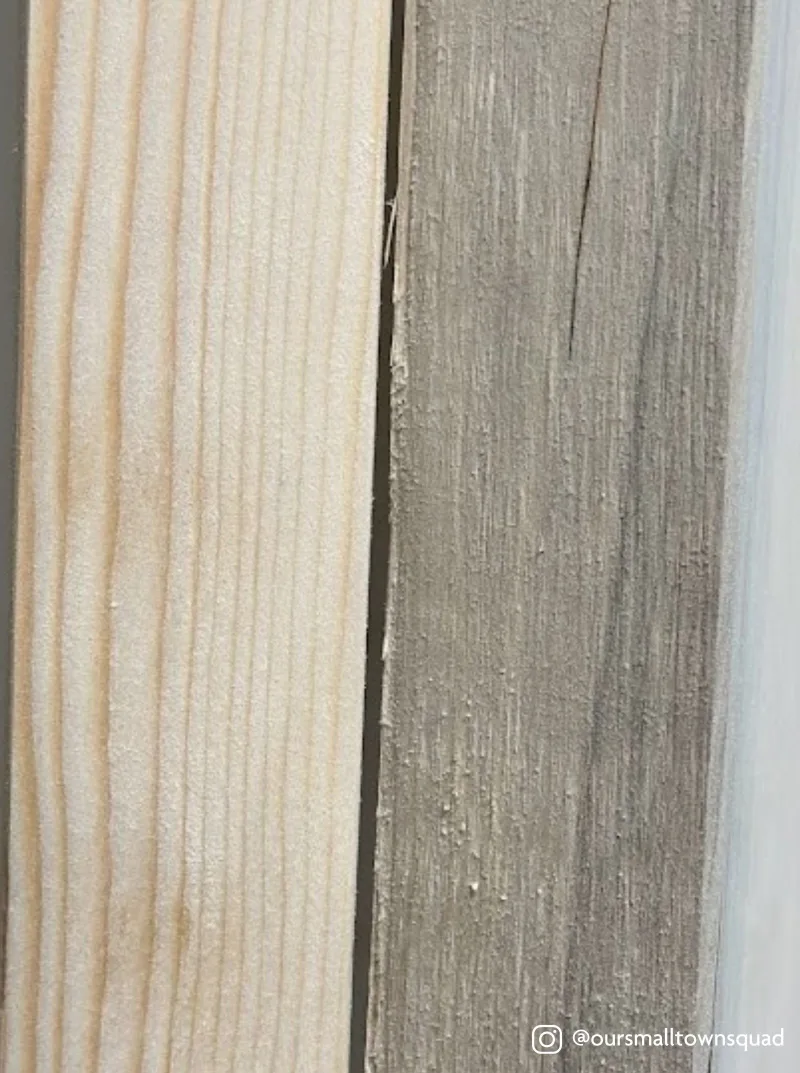
Step 7: Staining the Shelves
First, we used a cloth to lightly stain our entire board with Golden Oak stain by Minwax and allowed it to dry for two hours. Next up was the Saman Whitewash Wood Stain. We applied a generous amount to the top side of the board, then quickly spread it around to cover the entire surface, including the ends and sides. This has to be done fast before the stain dries. Once our board was covered, we used rags to rub off the whitewash, making sure to use clean parts of the rag each time. We then repeated the process on the bottom side and allowed the wood to cure for 24 hours before installing it, to prevent smudges.
That’s it! We’ve finally installed my dream custom-look, built-in cabinets in our dining room, including the DIY floating shelves. We now have more space, ample storage, and it’s just more practical for our tiny area. Big Bonus: It looks super high-end but it didn’t break the bank do it yourself!