Here’s How to Make a Range Hood Cover
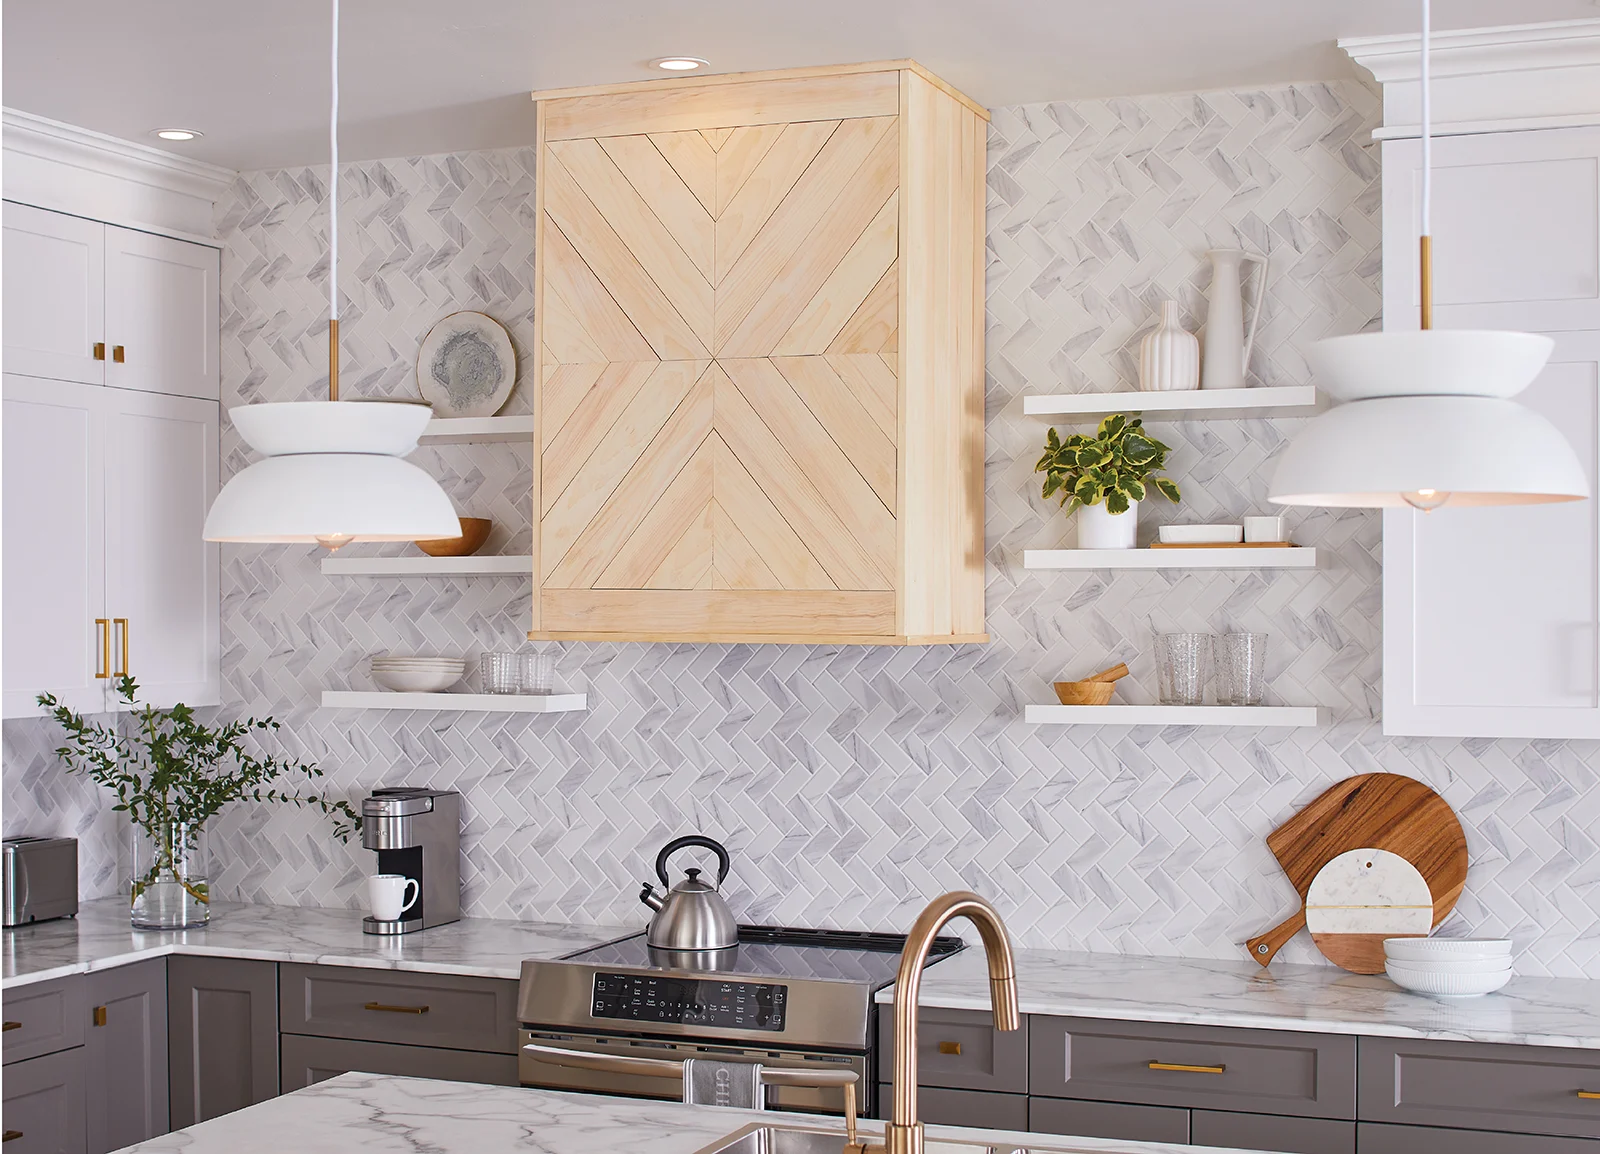
Get the look of a custom, designer kitchen with our DIY range hood cover. The cover, designed from a contemporary point of view, is minimal: a sleek box that can be finished however you wish. Paint it black to create a dramatic focal point in your kitchen, or match your cabinetry paint or stain colour for a seamless, custom-pannelled effect that looks plucked from a high-end showroom. Whatever your goal, this DIY project allows you to elevate your kitchen décor in a single weekend.
What You’ll Need*:
Supplies
(2) 2" x 4" Lumber (8' lengths)
(6) 1" x 4" Pine Trim (10' lengths)
1" x 2" Pine (12' length)
5/8" Plywood Sheet
1-1/2" Wood Screws
Minwax Interior Stain or BeautiTone Paint
Carpenter’s Glue
Tools
Pencil
Screw Gun
Digital Angle Finder or Sliding T Bevel
Putty Knife
Level
*Our full assortment of building supplies is available at Home Building Centre and Home Hardware Building Centre locations. To unlock our catalogue of building supplies online, please select your local Building Centre.
Here’s How
For this project, we’re creating a range hood cover made from basic building supplies. Our finished unit measures 33" x 45-1/2" x 21-3/4" (this includes the pine trim that goes on top) and is open at the back. We have also finished the front of the cover with a decorative, symmetrical pattern of four intersecting, triangle sections. We finished the sides with strips of vertical trim to create a polished, panelled effect.
Steps:
Assemble all the materials and tools for your project.
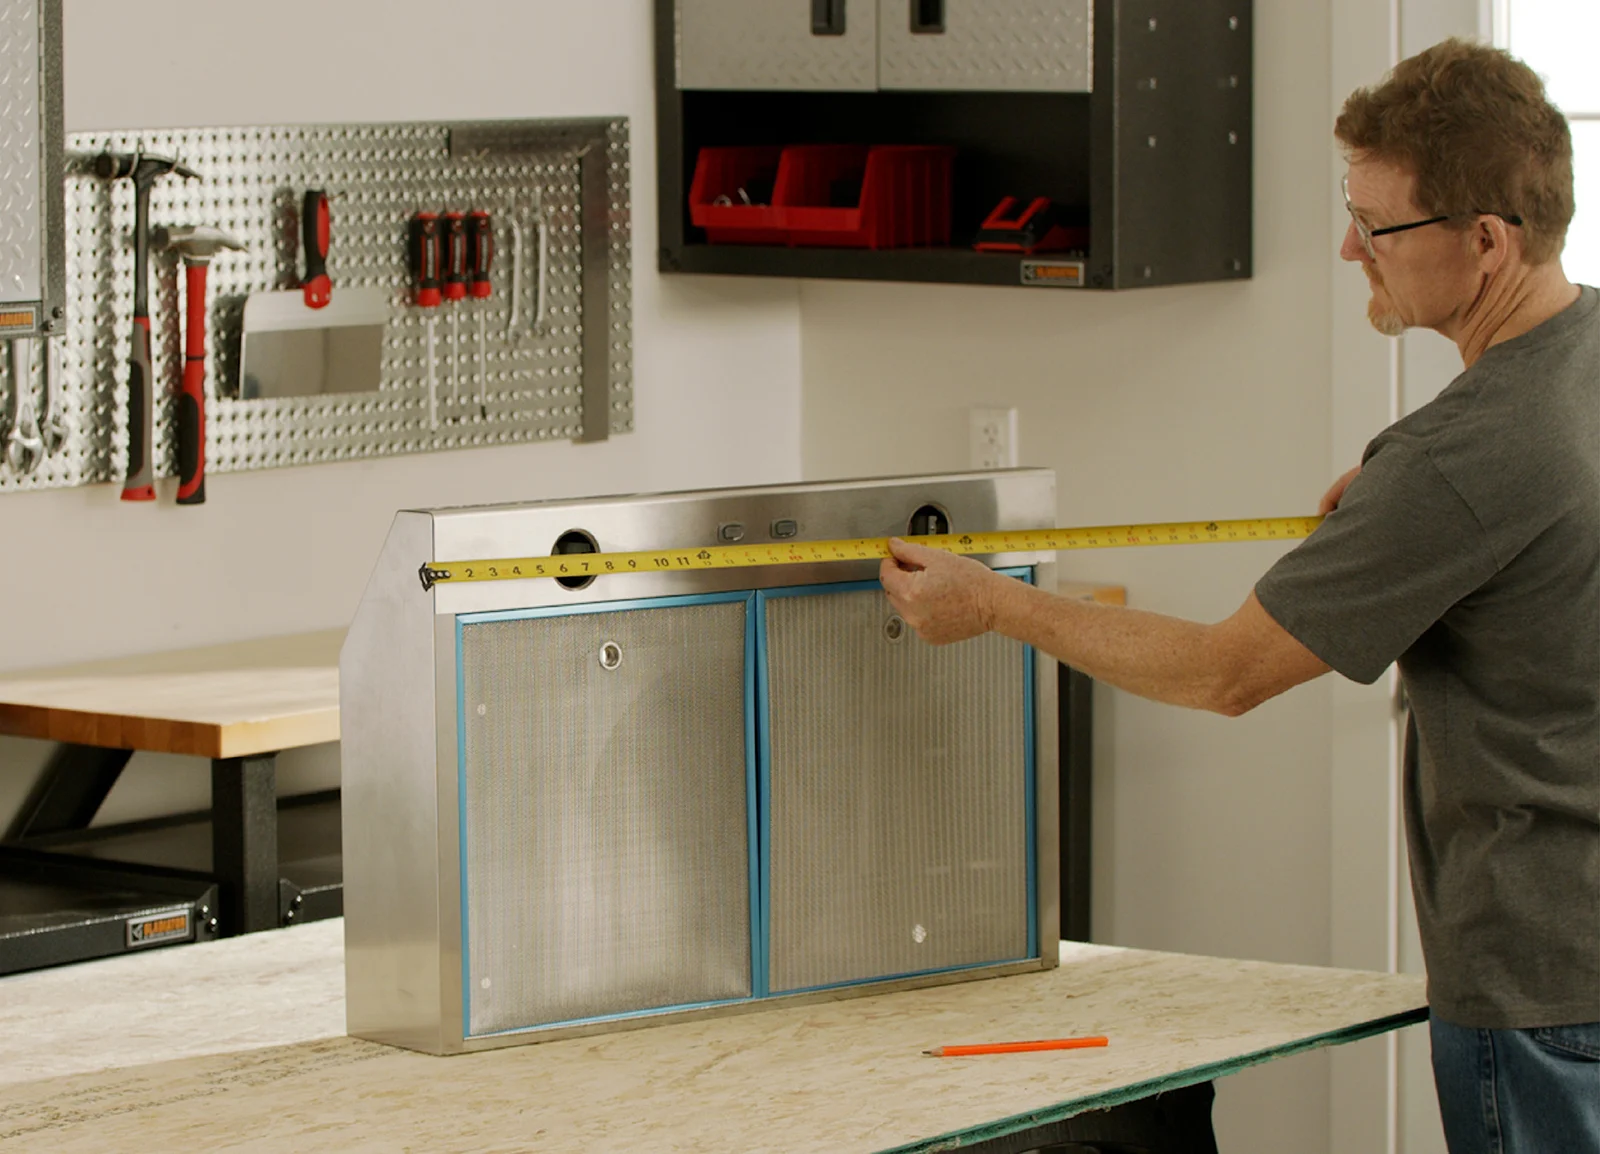
Start by measuring your range vent to determine the size of your hood cover. Our range hood is 30" long, 20" wide and 6" tall. We added a small gap on either side of the vent so your range hood cover will fit easily and neatly over it.
Measure the distance between your stove top and ceiling to determine the wall placement for your range hood cover.
NOTE: Your cover must sit a minimum of 28" above the stove and will butt the ceiling at the top.
4. Measure, mark and cut your wood to create the box frame of your range hood cover. You will require the following pieces of 2" x 4" lengths:
• (4) 17" (for the depth)
• (4) 30" (for the length)
You will require the following pieces of plywood:
• (2) 44" x 20" (for the sides of the cover)
• (1) 44" x 31" (for the front of the cover)
5. Measure, mark and cut your pine for the trim of your cover. You will require the following 1" x 4" pieces:
• (2) 31" (for the top and bottom front)
• (12) 44" (for the sides, 6 on each side)
NOTE: We cut the top and bottom edge trim pieces of pine at 45°, and straight-cut the long edges of the 12 pieces of side trim.
For the top and bottom edging, you will require the following 1" x 2" pieces:
• (2) 33" (for the front edge)
• (4) 21-3/4" (for the side edges)
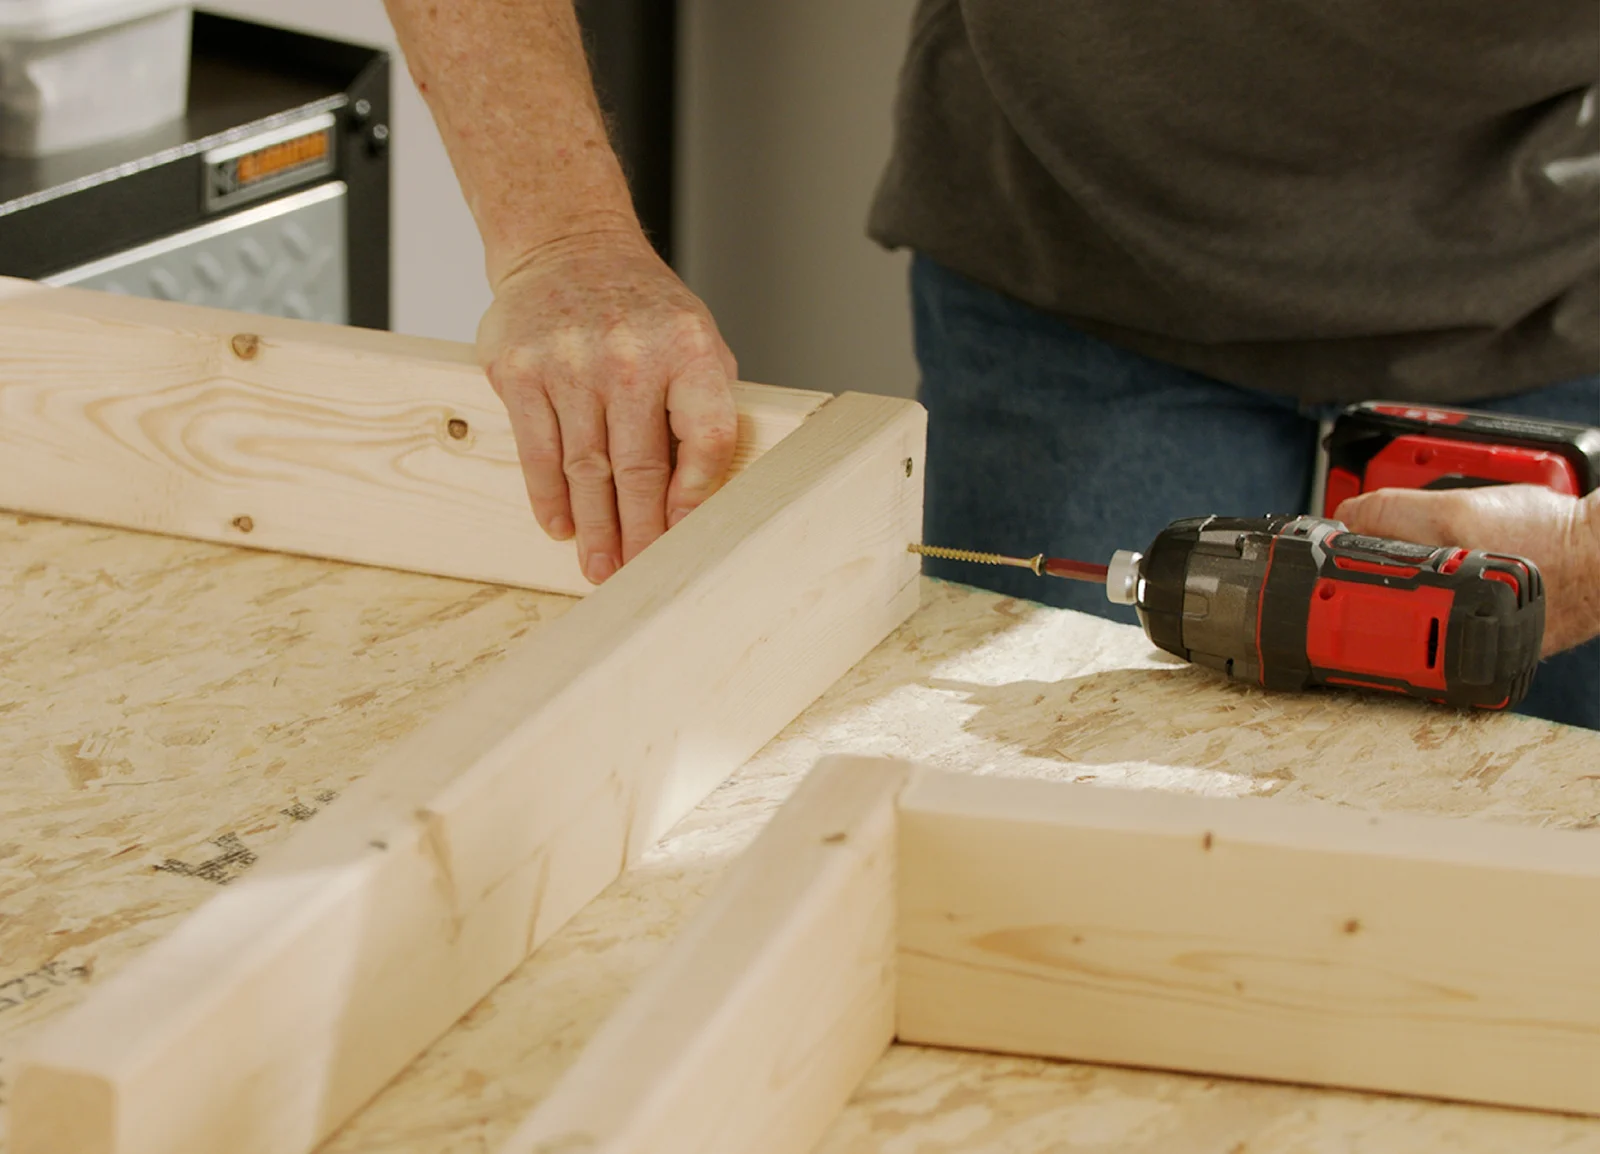
6. Build the frame of your hood cover box: two 2" x 4" frames – one for the top and one for the bottom.
7. Using wood screws, attach the top and bottom frames to one of the plywood sides, making sure to leave the required overhang at the bottom to fit over your vent. (We’re allowing for 7" at the bottom). Once assembled, attach the other side.
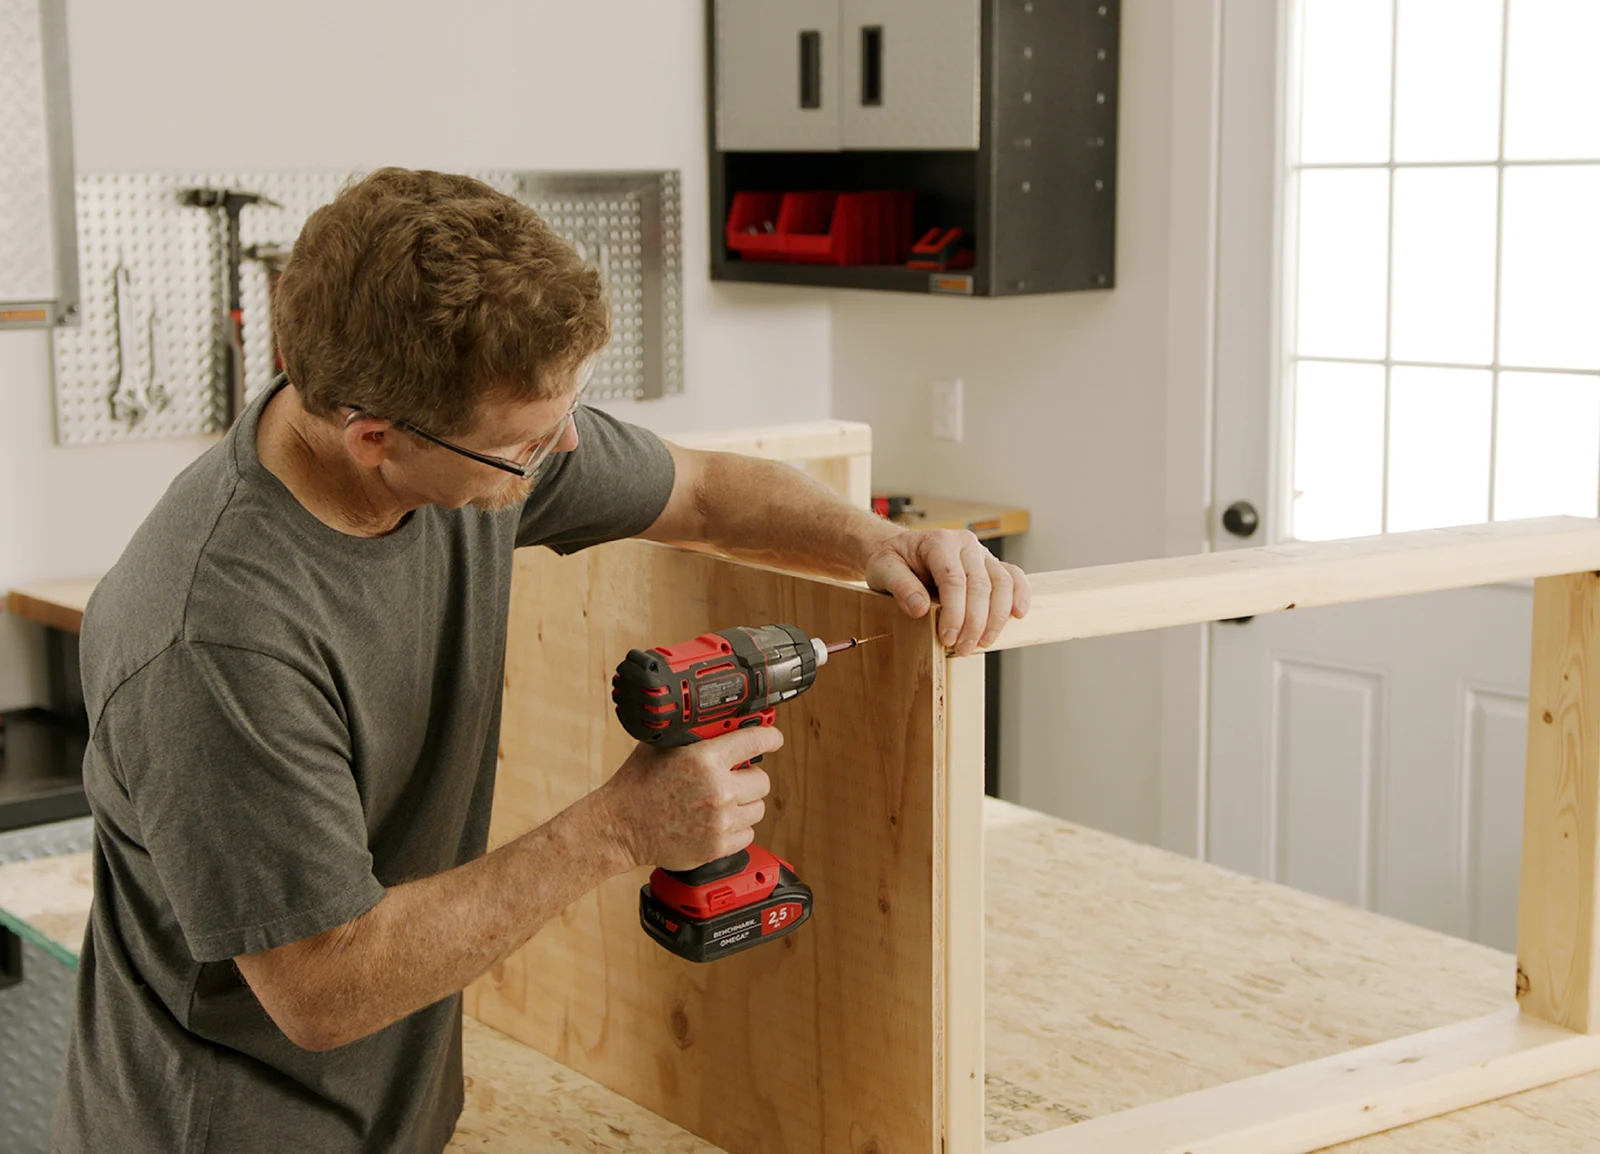
8. Attach the front plywood piece; glue first, then screw onto the 2" x 4" frame. Use the nail gun to attach the panels to each other where they meet at all sides. Your cover box now has three sides and is open at the top and bottom.
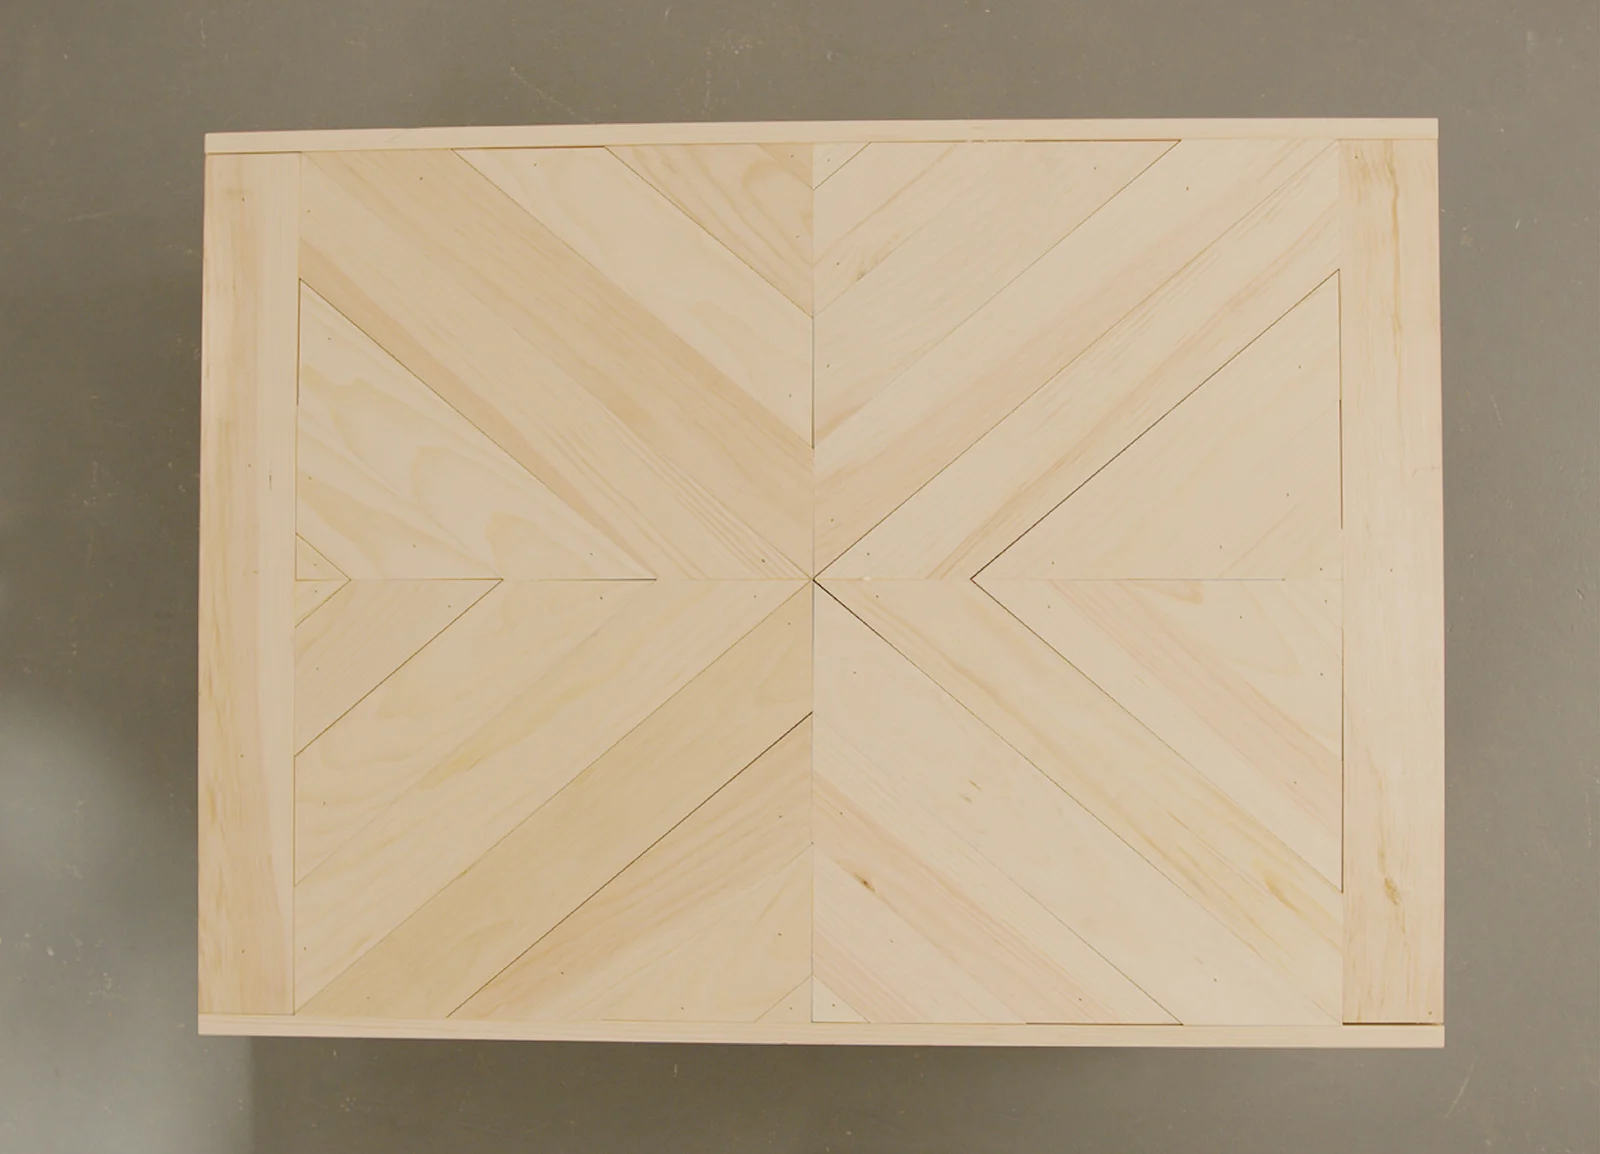
9. Place your 1" x 4" top and bottom trim/frame pieces and mark their position with pencil. Set wood aside. For the decorative detailing of our hood’s front face, we start by drawing a pencil line from opposite corners. Where those lines meet, draw an X. Find the center and draw a cross intersection.
10. Once your guides are drawn on the front, take the top and bottom pine trim and glue and nail those onto the front panel.
11. To create the panelled sides, add the 44" long pieces, glue then nail into place. Work front to back in case the last piece of trim needs to be cut to fit the depth of the side.
12. To create the chevron pattern, start by using your T bevel to find the angle for your first 1" x 4" pine trim piece, which sits at the centre point (marked with pencil earlier).
13. After each piece of 1" x 4" pine is cut at one end using the sliding T bevel and mitre saw, place it back on the hood cover and mark where the opposite end needs to be cut. Our pattern has four triangular sections.
14. Cut all pieces for one triangular section, then glue and nail into place before moving onto the next section. Repeat process until the design is complete.
15. Using the 1" x 2" edging pieces, trim the top of your hood cover. Glue and nail into place. Flip the cover over and trim the bottom in the same way, gluing first and then nailing pieces in place.
16. Fill nail holes and minor imperfections with wood filler. Smooth with putty knife and let dry.
17. Use a palm sander to sand and smooth. Wipe clean.
18. Stain or paint to your desired finish. Let dry.
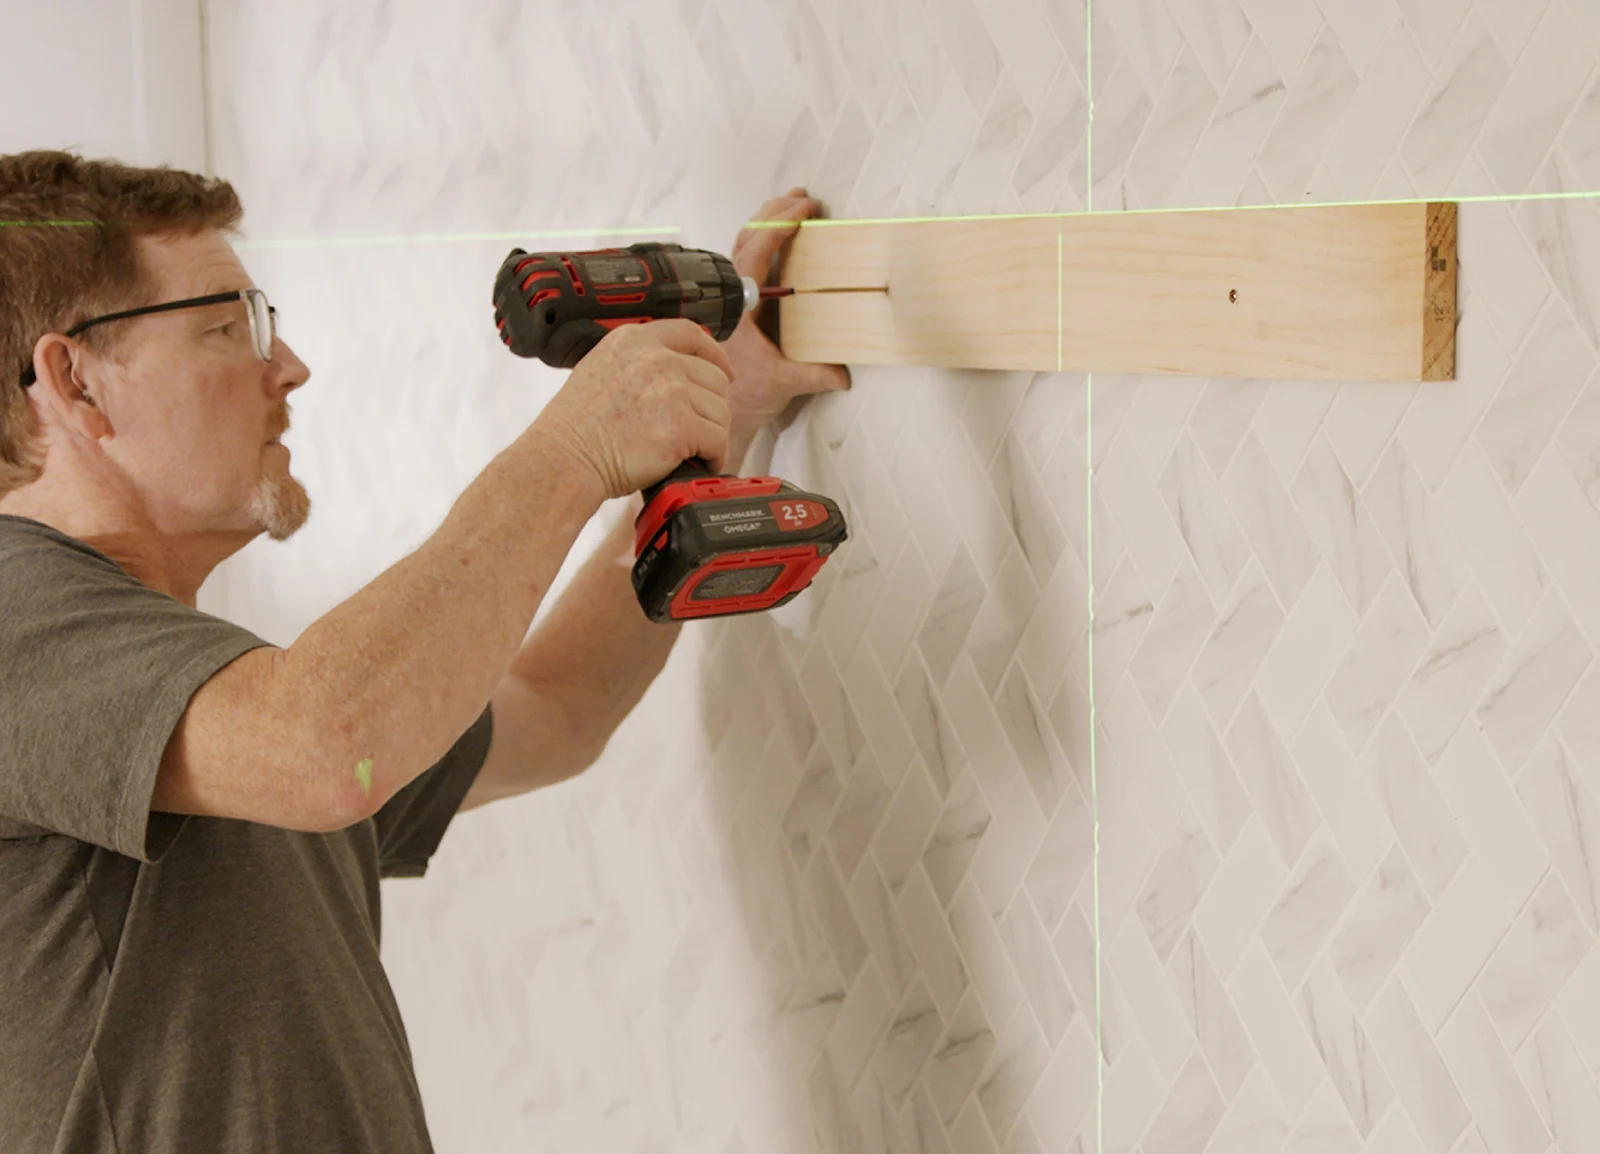
19. Hang your range hood cover. Mark the placement for your hood cover on the wall, and cut two lengths of wood, narrower than your cover, to use as horizontal braces. They’ll support the cover so you can safely install it.
NOTE: Use the proper screws or anchors depending on the material of your wall ie. Drywall or tile.
20. With a helper, hang the hood cover, resting it first on the braces and then securing it in place on the wall. Once the cover is securely installed, hang your hood vent inside it, according to manufacturer’s instructions.
21. Your project is complete. Step back and enjoy how this DIY range hood cover elevates the style of your overall kitchen.
Total time: 8 hours
Difficulty: Advanced