Here’s How to Make a Hair Appliance Caddy
Looking to bring organization to your vanity drawers? Our simple Hair Appliance Caddy DIY creates a clean, clutter-free space. The drawer organizer insert provides safe storage for all your hair care tools, from straighteners to curling irons.
What You’ll Need*:
Supplies
(1) 5/8" Maple Veneer Plywood Sheet
Carpenter’s Glue
1-1/4" Brad Nails
Water-Based Clear Coat Varathane
Tools
Pencil
2" Hole Saw Kit
Sanding Block
Putty Knife
*Our full assortment of building supplies is available at Home Building Centre and Home Hardware Building Centre locations. To unlock our catalogue of building supplies online, please select your local Building Centre.
Here’s How
For this project, we built a 10-3/4" x 6" x 14-1/2" caddy drawer organizer out of maple veneer plywood to fit into our bathroom vanity drawer. The organizer has two sections with a bisecting piece of wood that has two holes where you can insert hair tools such as curling rods and irons.
Steps:
1. Assemble all the materials and tools for your project.
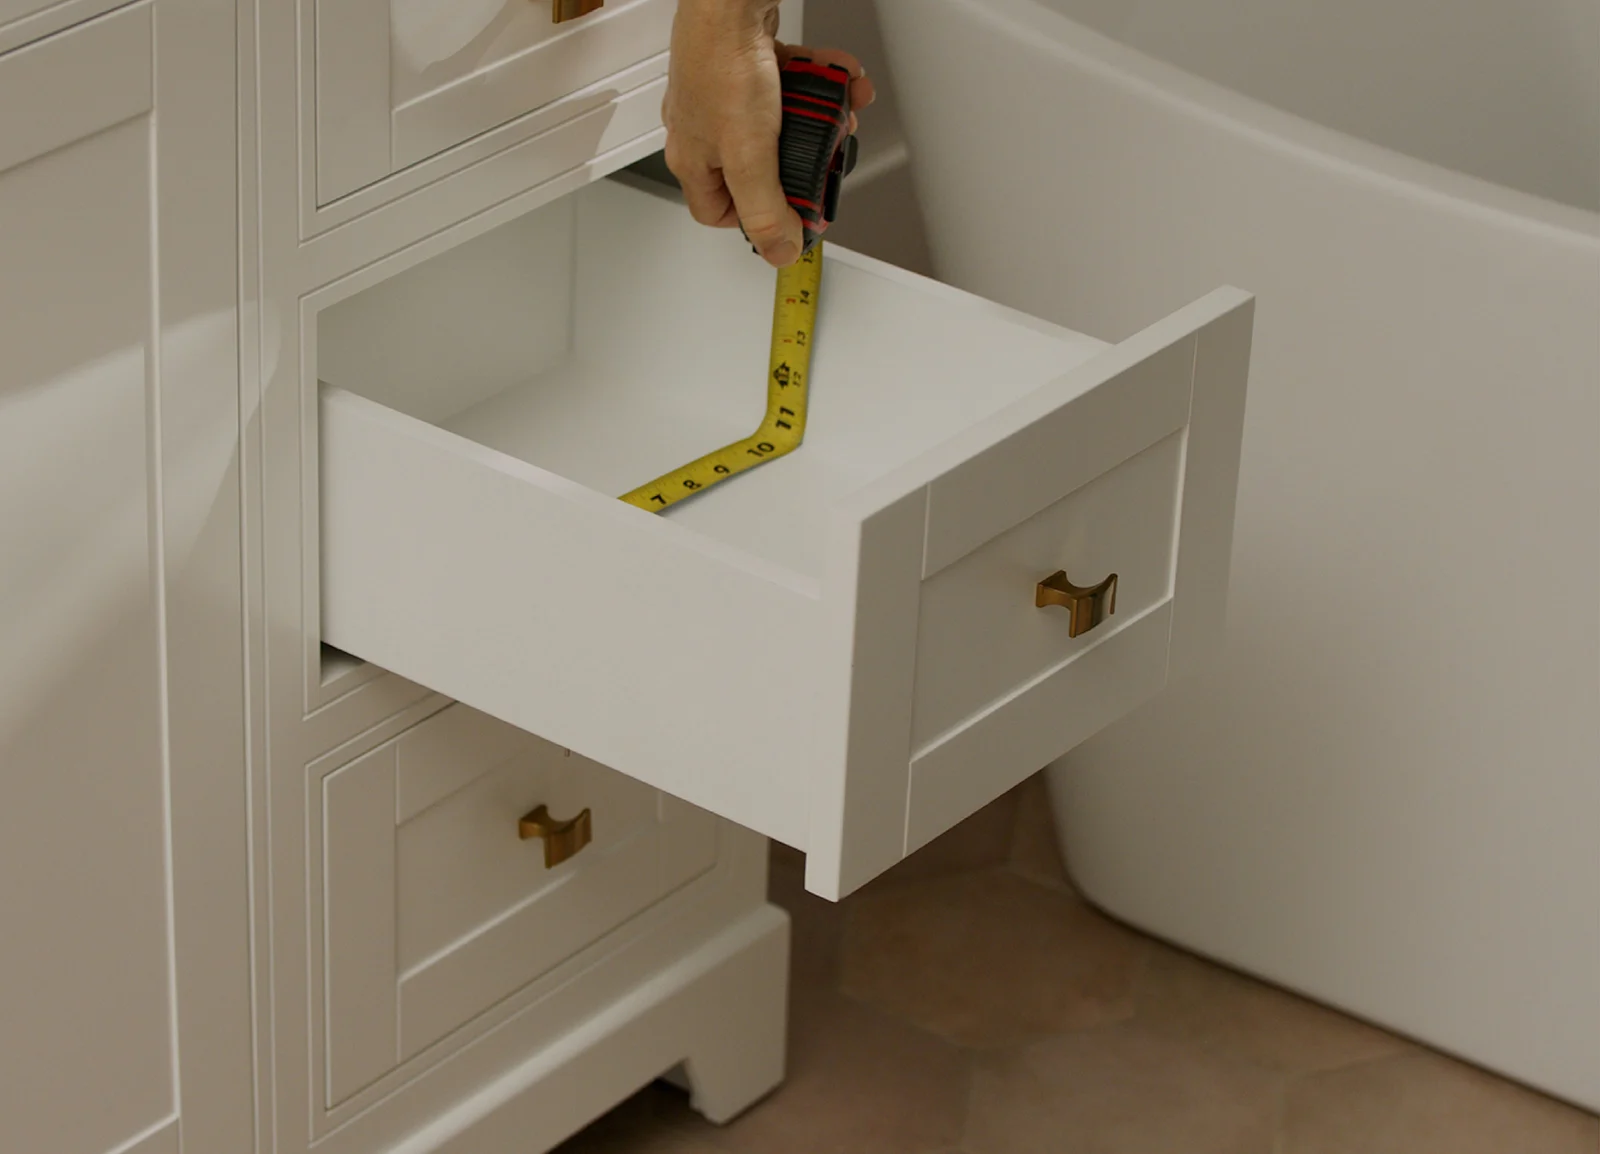
2. Start by measuring your drawer to determine the finished size of your hair appliance caddy.
3. Measure, mark and cut your plywood. For a 10-3/4" x 6" x 14-1/2" caddy, you will require the following pieces:
(1) 14-1/2" x 10-3/4" (for the bottom of the caddy)
(1) 10-3/4" x 2" (for the front)
(3) 6-1/2" x 2" with one end of each piece cut at 80° (for the sides and divider)
(1) 6-1/4" x 10-3/4" (for the box top)
(2) 6-1/2" x 4-3/4" with one end of each cut at 80° (for the left and right of the box)
(1) 10-3/4" x 4-3/4" (for the box back)
(1) 10-3/4" x 5-5/8" (for the box face)

4. Take the box face piece and measure and mark where the two hair appliance holes will be drilled. Approximately 2" down from the top and 2-1/4" from each side.
5. Secure the piece of wood to your workstation with a clamp and using a hole saw, drill two 2" holes where you’ve marked.
6. Router both holes and sides smooth. Set aside.
7. Take the box back piece and the left and right pieces for the box and assemble them upside down; glue then nail together. Next add the bottom of the caddy piece; glue then nail together. Set aside.
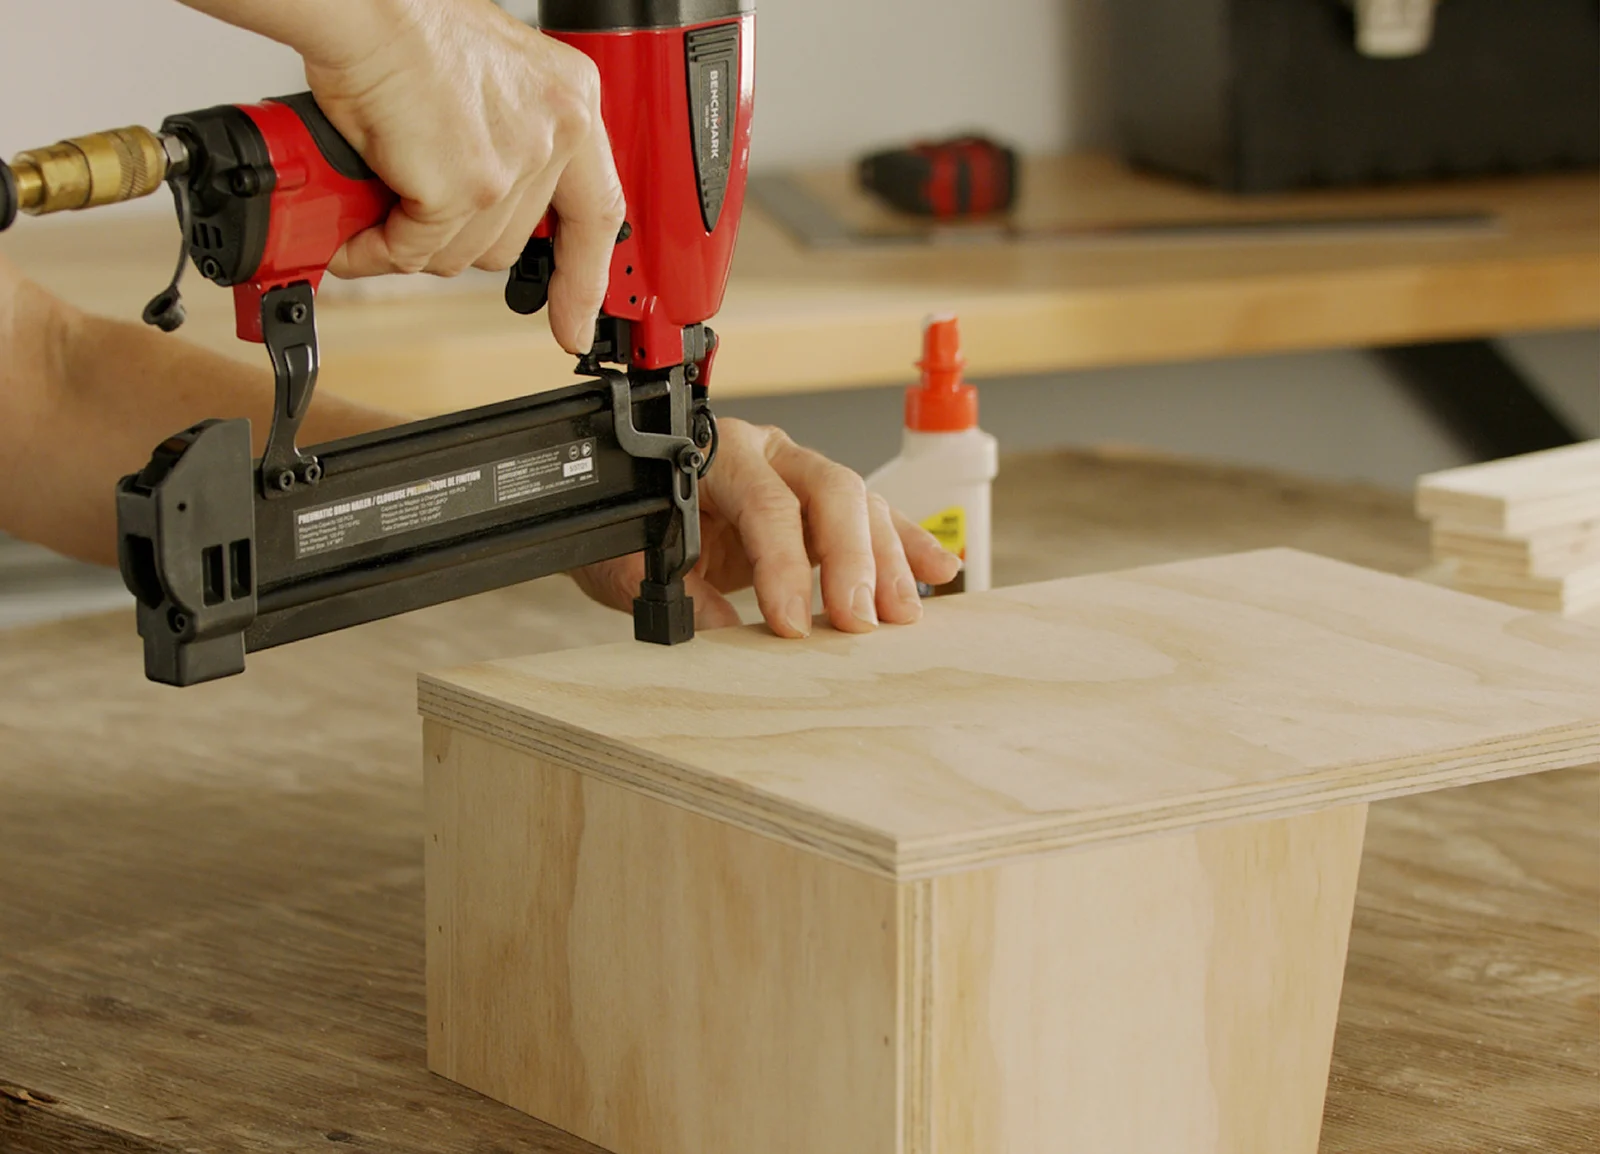
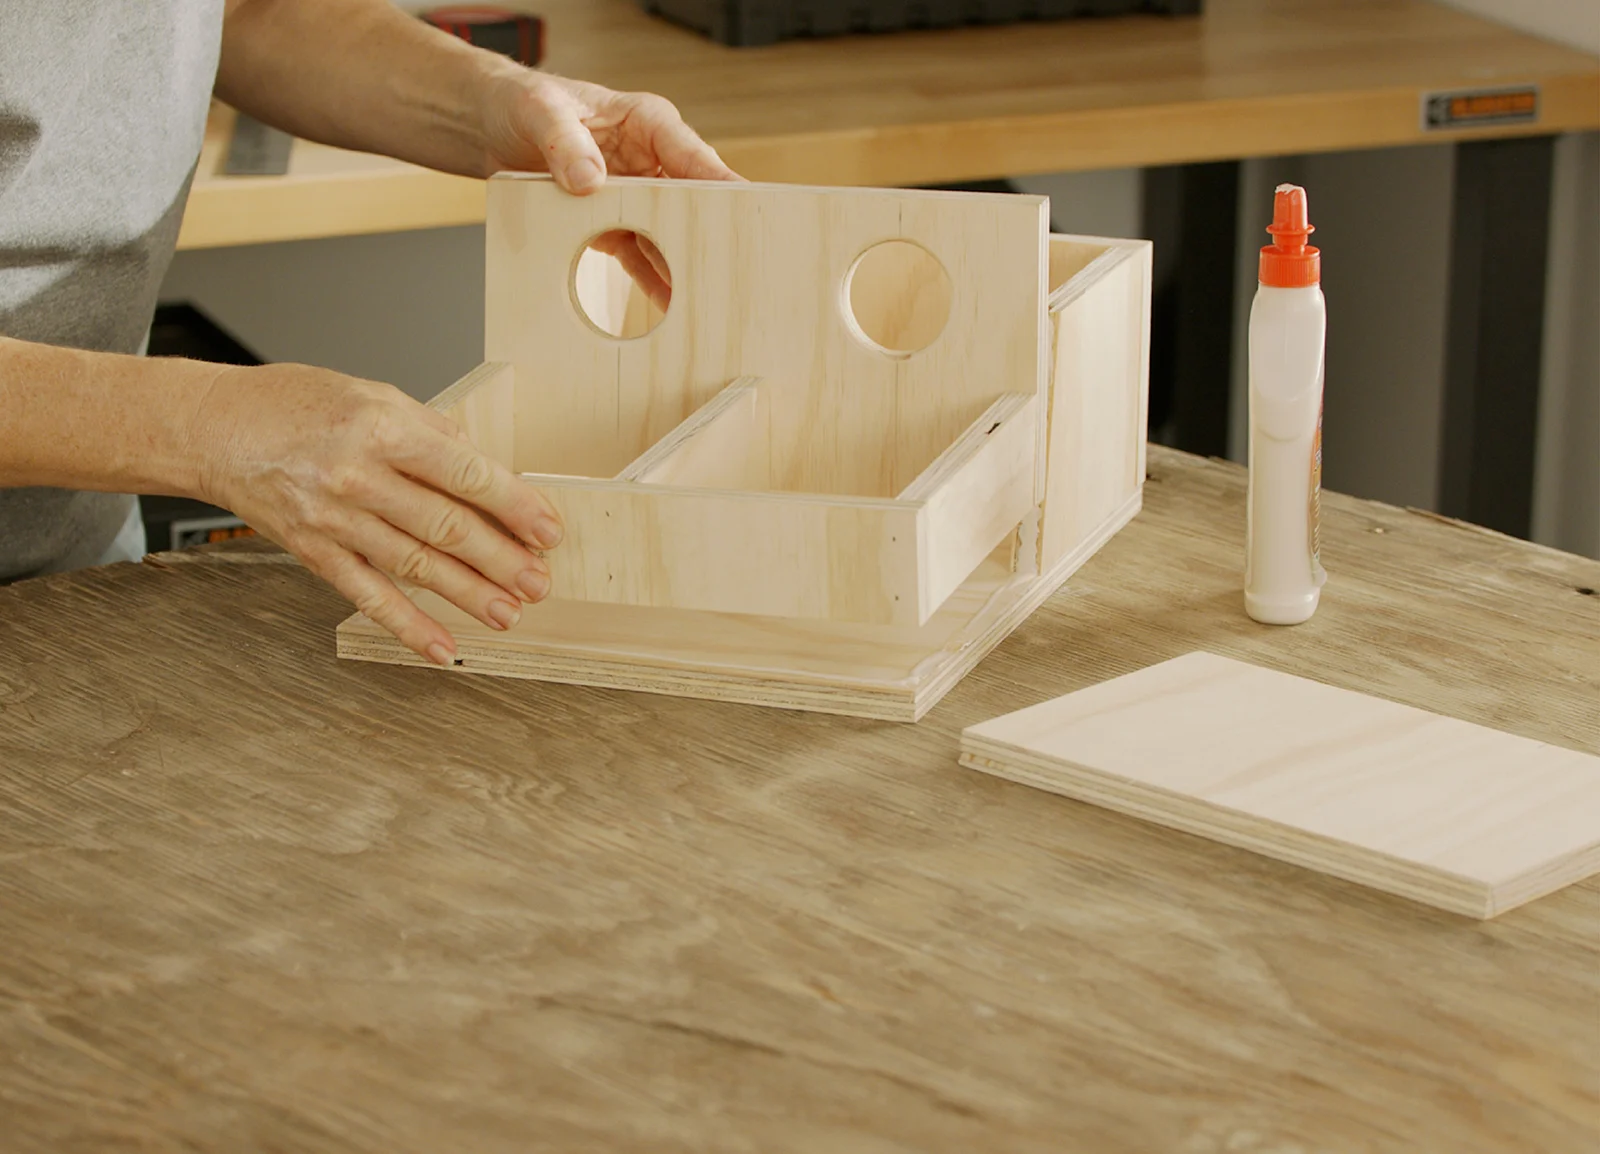
8. Take the front piece, two sides and divider piece; glue then nail together. Next add the box face piece (with the drilled holes); glue then nail together.
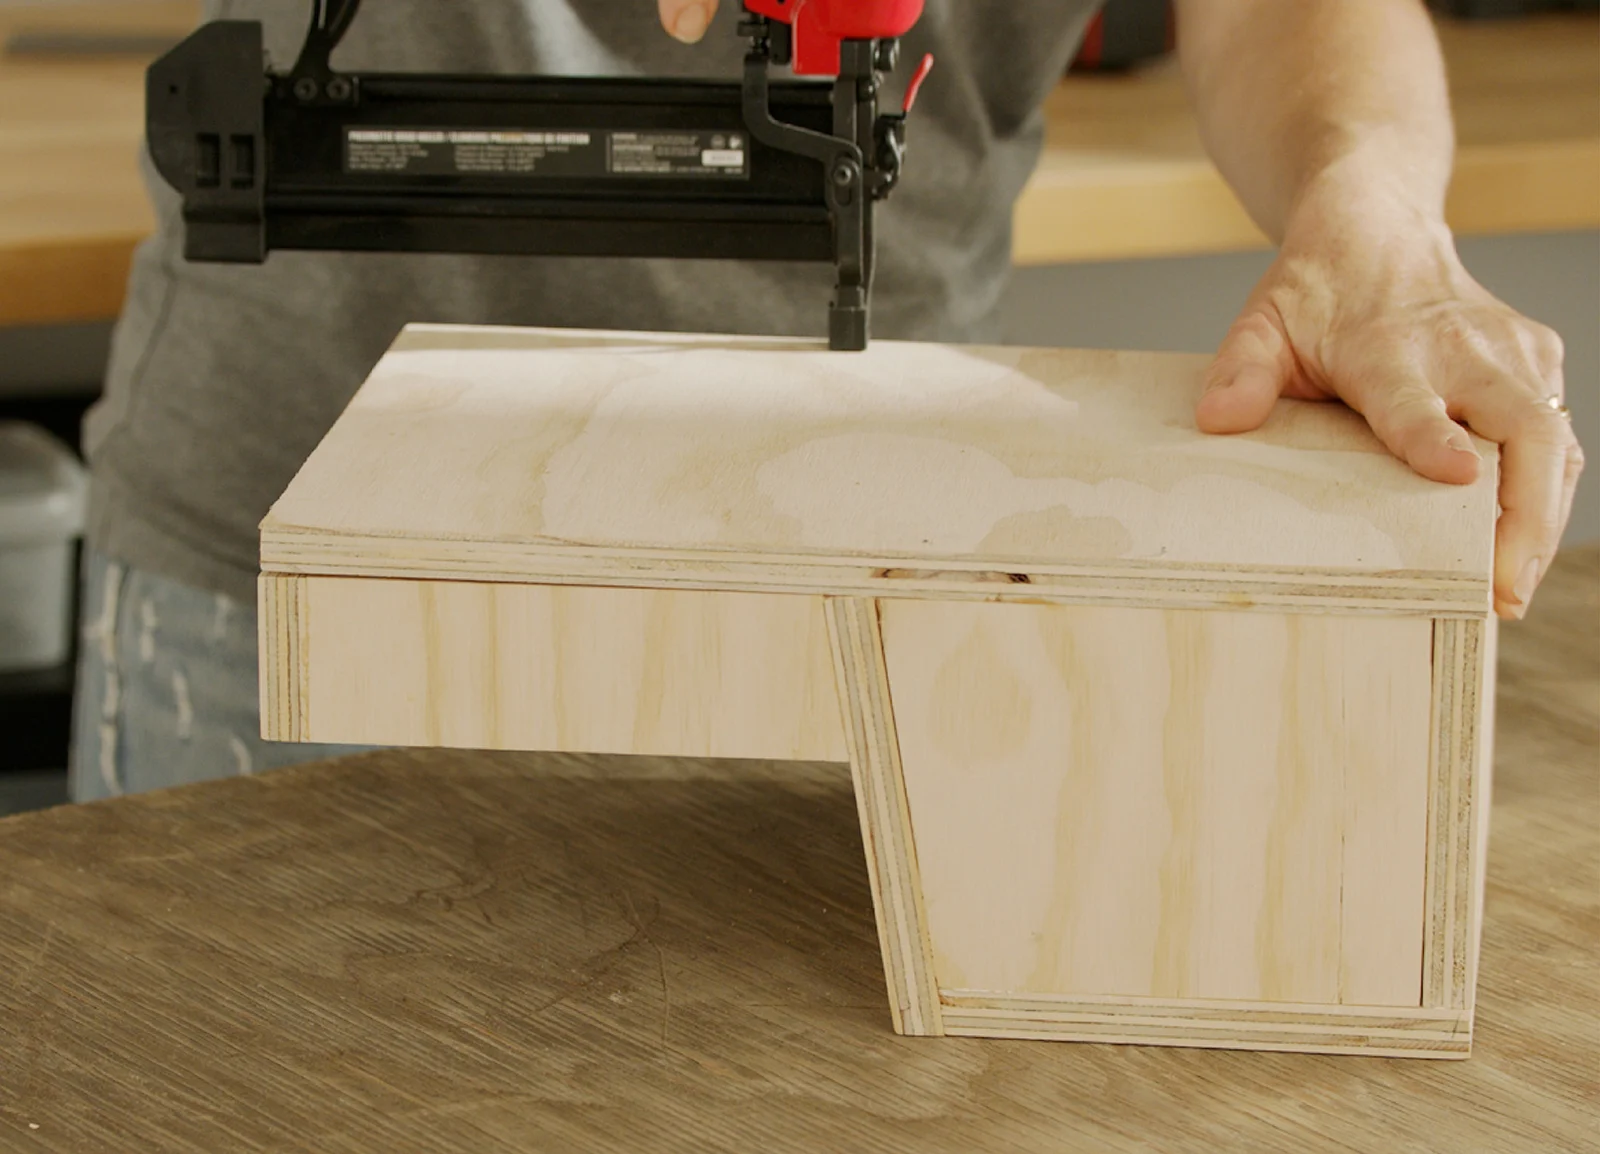
9. Now attach the two sections together; glue then nail together at the top. Add the box top piece; glue then nail together.
10. Flip the caddy over and nail the bottom into place.
11. Fill any holes with wood filler; smooth with your finger or putty knife. Let dry.
12. Sand smooth on all surfaces and wipe clean.
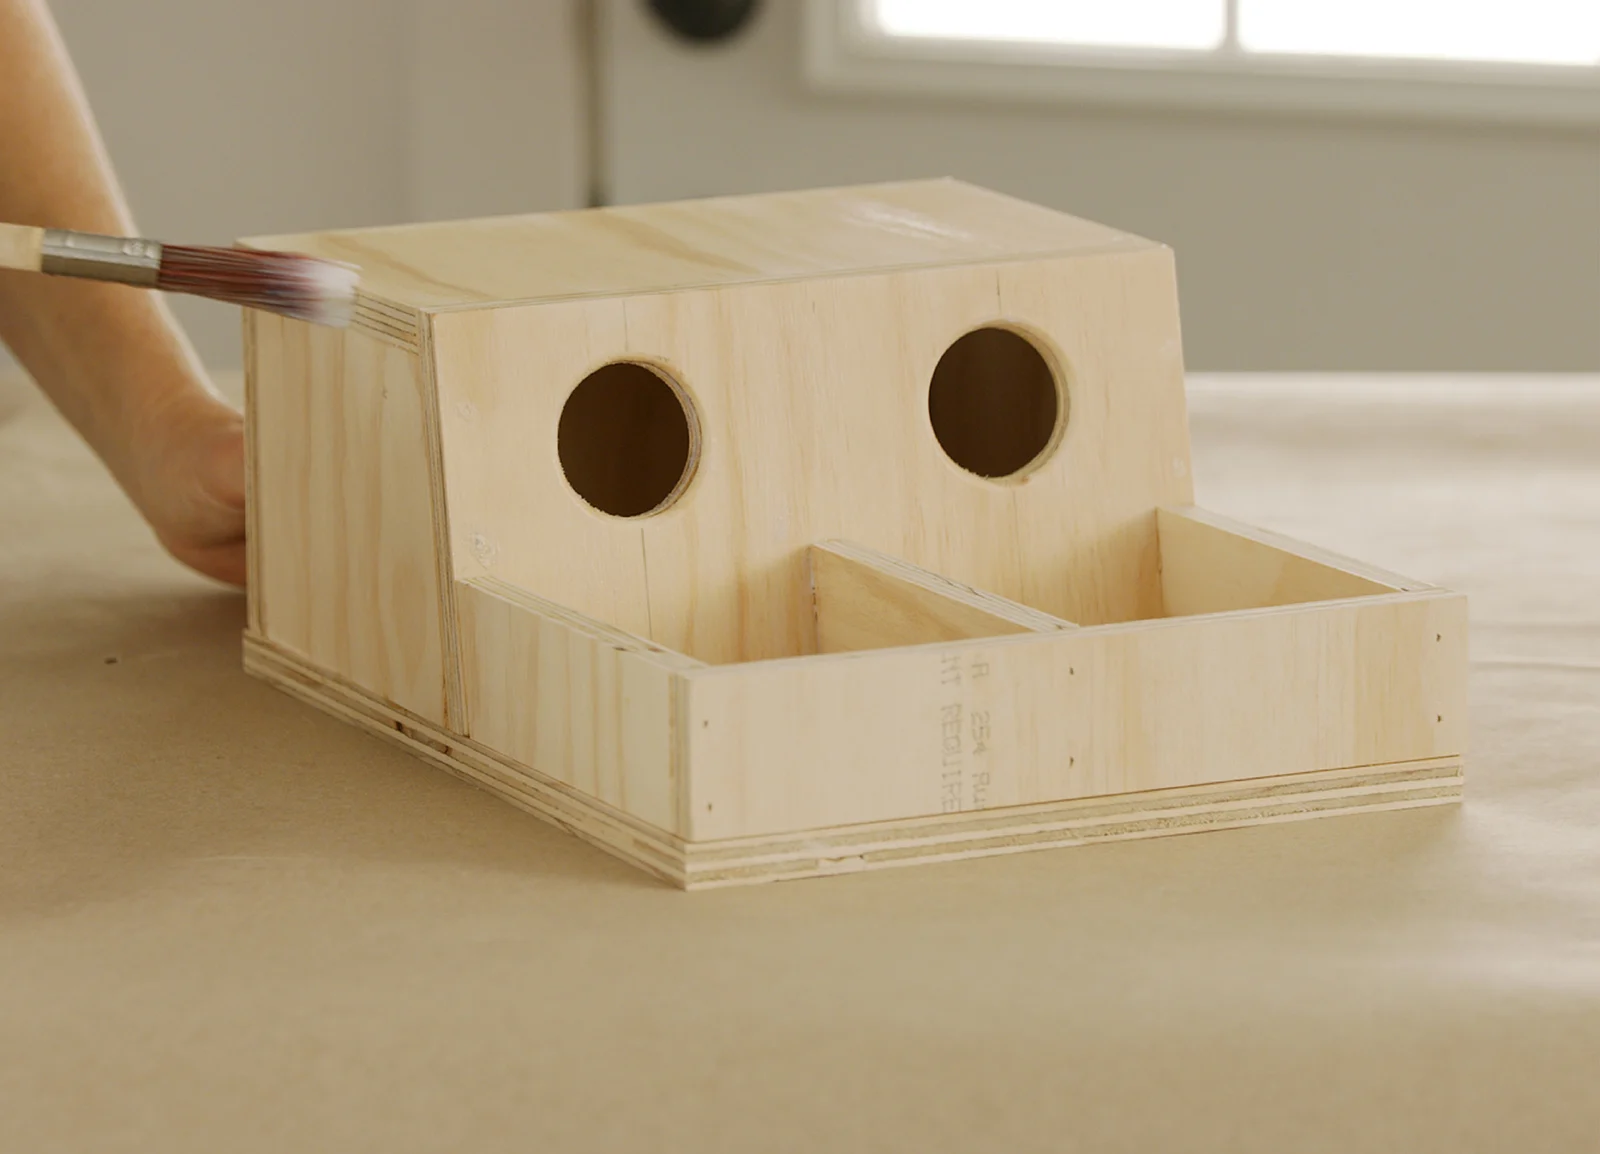
13. To protect your caddy, apply a polyurethane clear-coat finish or stain. This provides scratch-resistance and makes the drawer organizer easy to clean. Let dry.
14. Place your caddy into your bathroom vanity drawer and add your hair appliances.
Total time: 4 Hours
Difficulty: Intermediate
