


Are you looking to replace your old pots and pans? Need some tips on spring garden planting? Or maybe you just want to know how to fix a leaky faucet. Home Hardware has you covered. From inspiration to expert advice - the Here's How Hub is here to help you tackle any project, big or small. You’ll find a diverse collection of buying guides that includes everything from the roof on your house to the sump pump in your basement, and yes even the kitchen sink. Each guide is designed to show you how to find the best, most cost-effective solution for your home.
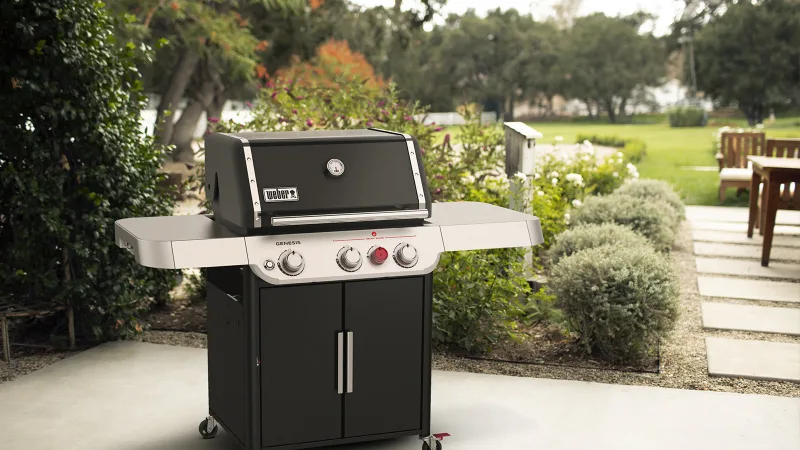
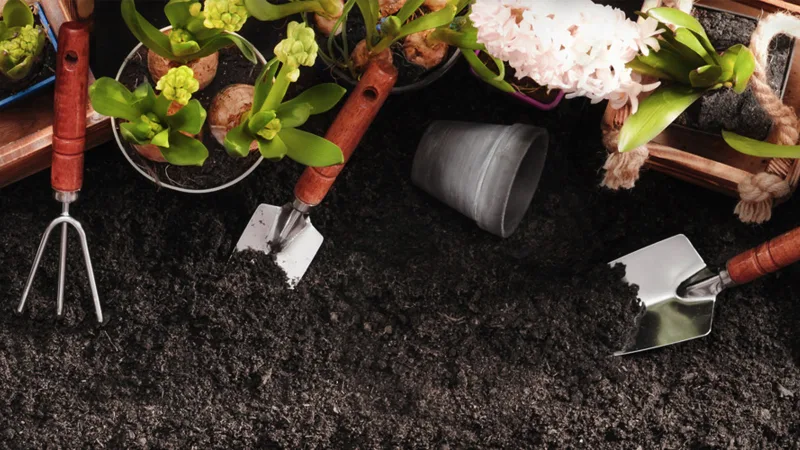
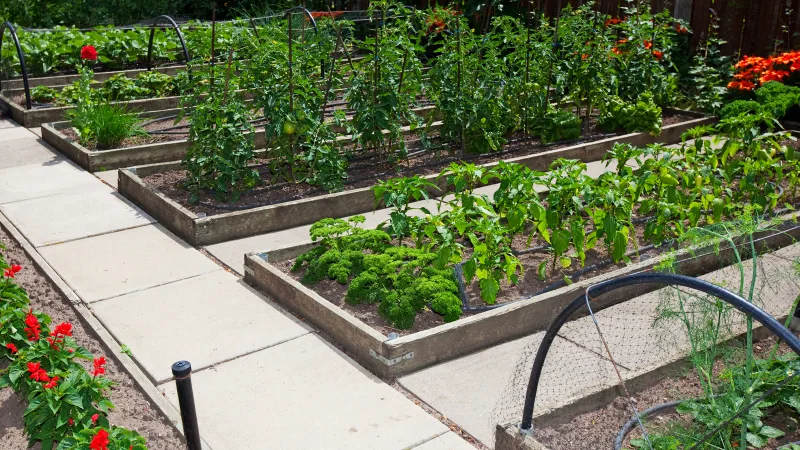
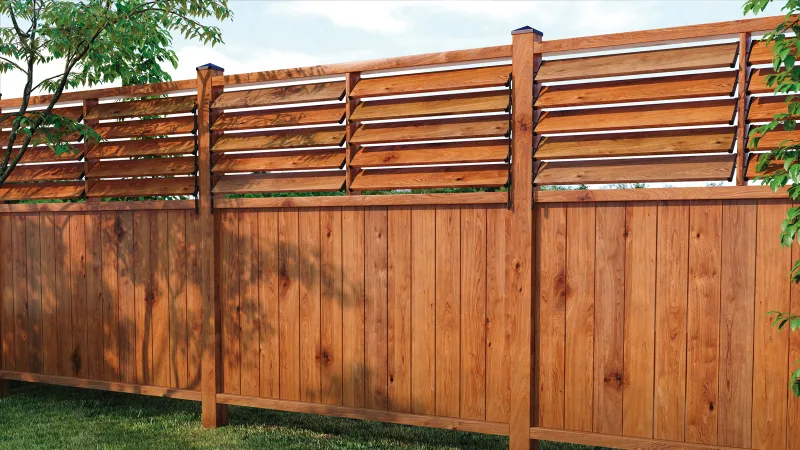
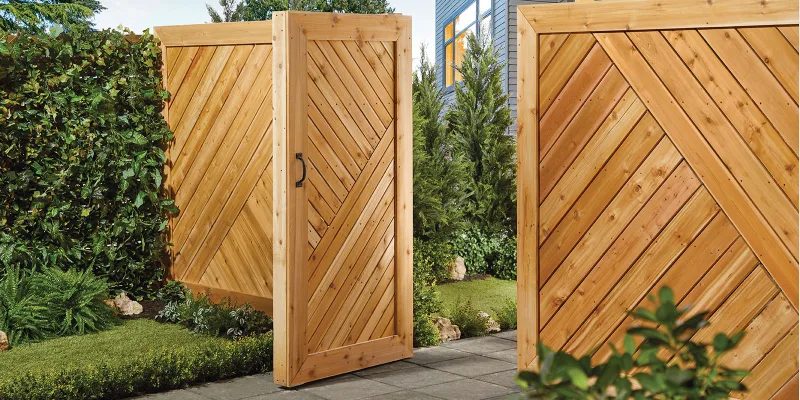
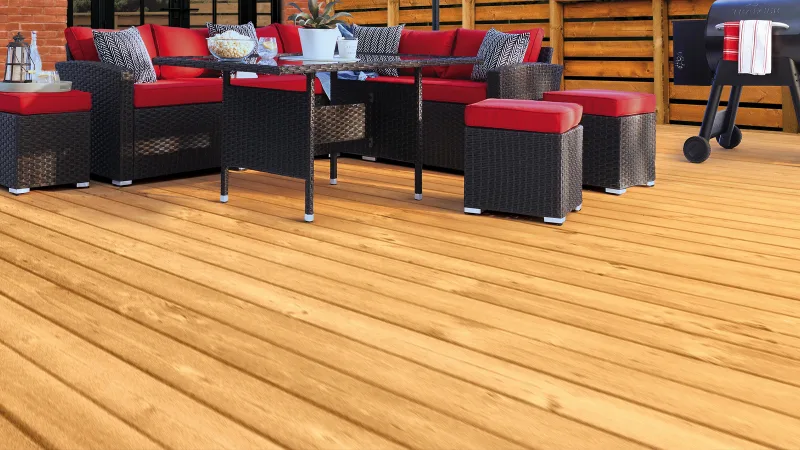
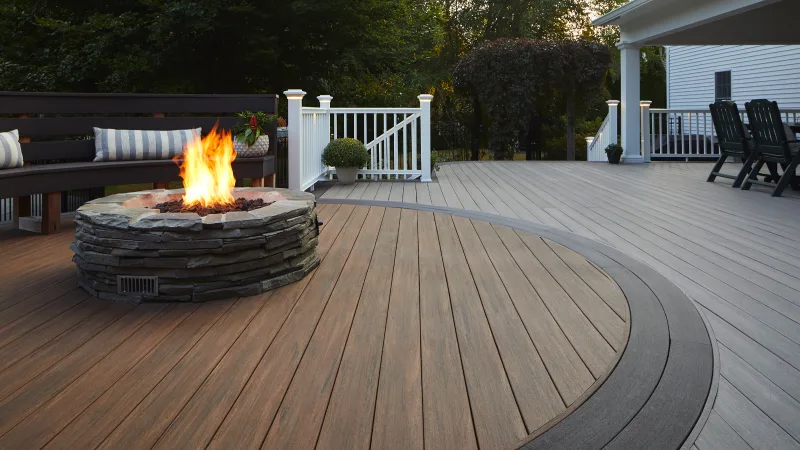
You’ll also find a wide range of DIY projects both big and small for in and around your home. Browse kitchen for articles on kitchen remodeling, kitchen flooring, kitchen lighting, cabinets, appliances, and even some popular recipes to try. Bathroom offers plumbing repair tips and covers all types of bathroom fixtures including bathtubs, showers, faucets, vanities and more. You’ll find great home décor tips in paint, along with expert advice on how to prep and paint the many different surfaces in your home. Outdoor covers all four seasons with DIY projects for sheds, decks, patios and fences, plus tips and how-to articles on gardening, lawncare, and snow removal. Every project or repair is unique so make sure you’ve got all the tools & building materials you need in advance. Home cleaning & organization will help make chores and housework a breeze, and lifestyle will help make your home safer, more convenient, and more environmentally friendly.
© 2018 Home Hardware Stores Limited. All rights reserved.