Here’s How to Build DIY Reclaimed Wooden Pollinator Boxes
Kate and her husband bought a beautiful A-Frame house in Nova Scotia which they are transforming into their home. Her passion for the outdoors has led her to build and cultivate a greenhouse on her property. Find all this and more on her Instagram.
Giving old lumber a second life is a great way to practice sustainability. Why not plant seeds and help our pollinators at the same time? Here’s How I teamed up with my local Home Hardware to create beautiful pollinator boxes.
Here’s what you need:
Reclaimed Lumber
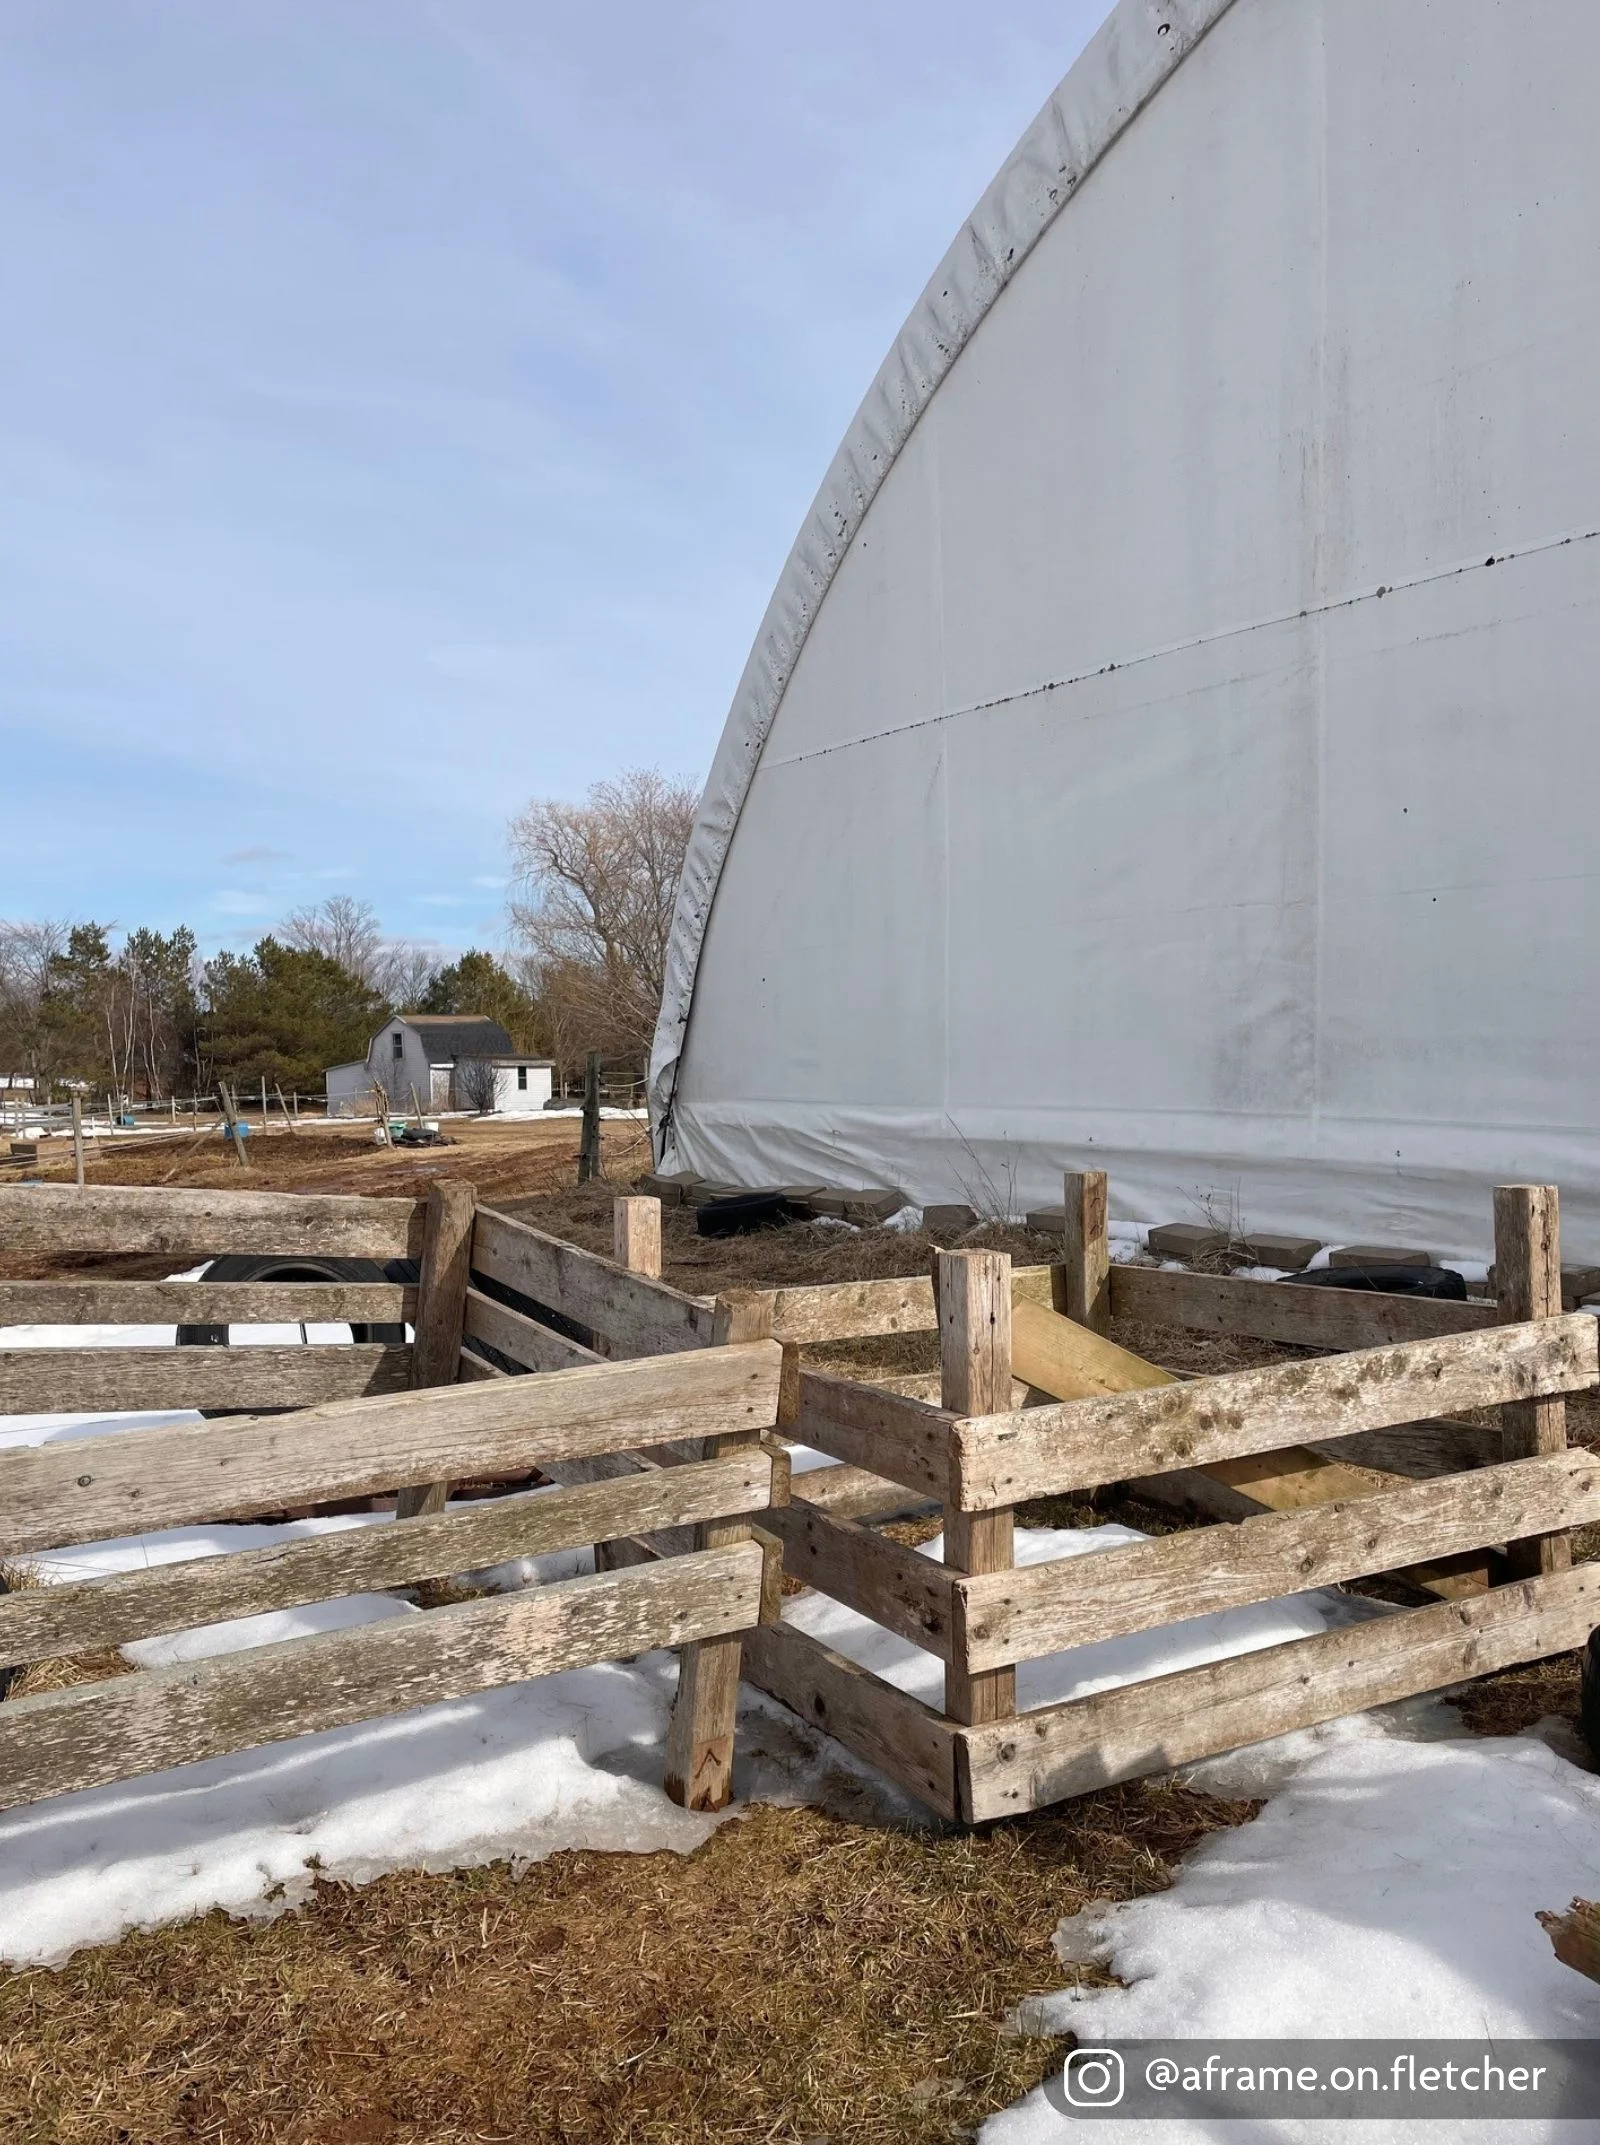
Step 1: Source your materials
Check Facebook marketplace for folks giving away wood, or ask family and friends if they have any scrap wood laying around. If you know a farmer, chances are they have lots of wood! Any type of lumber will work for this project.
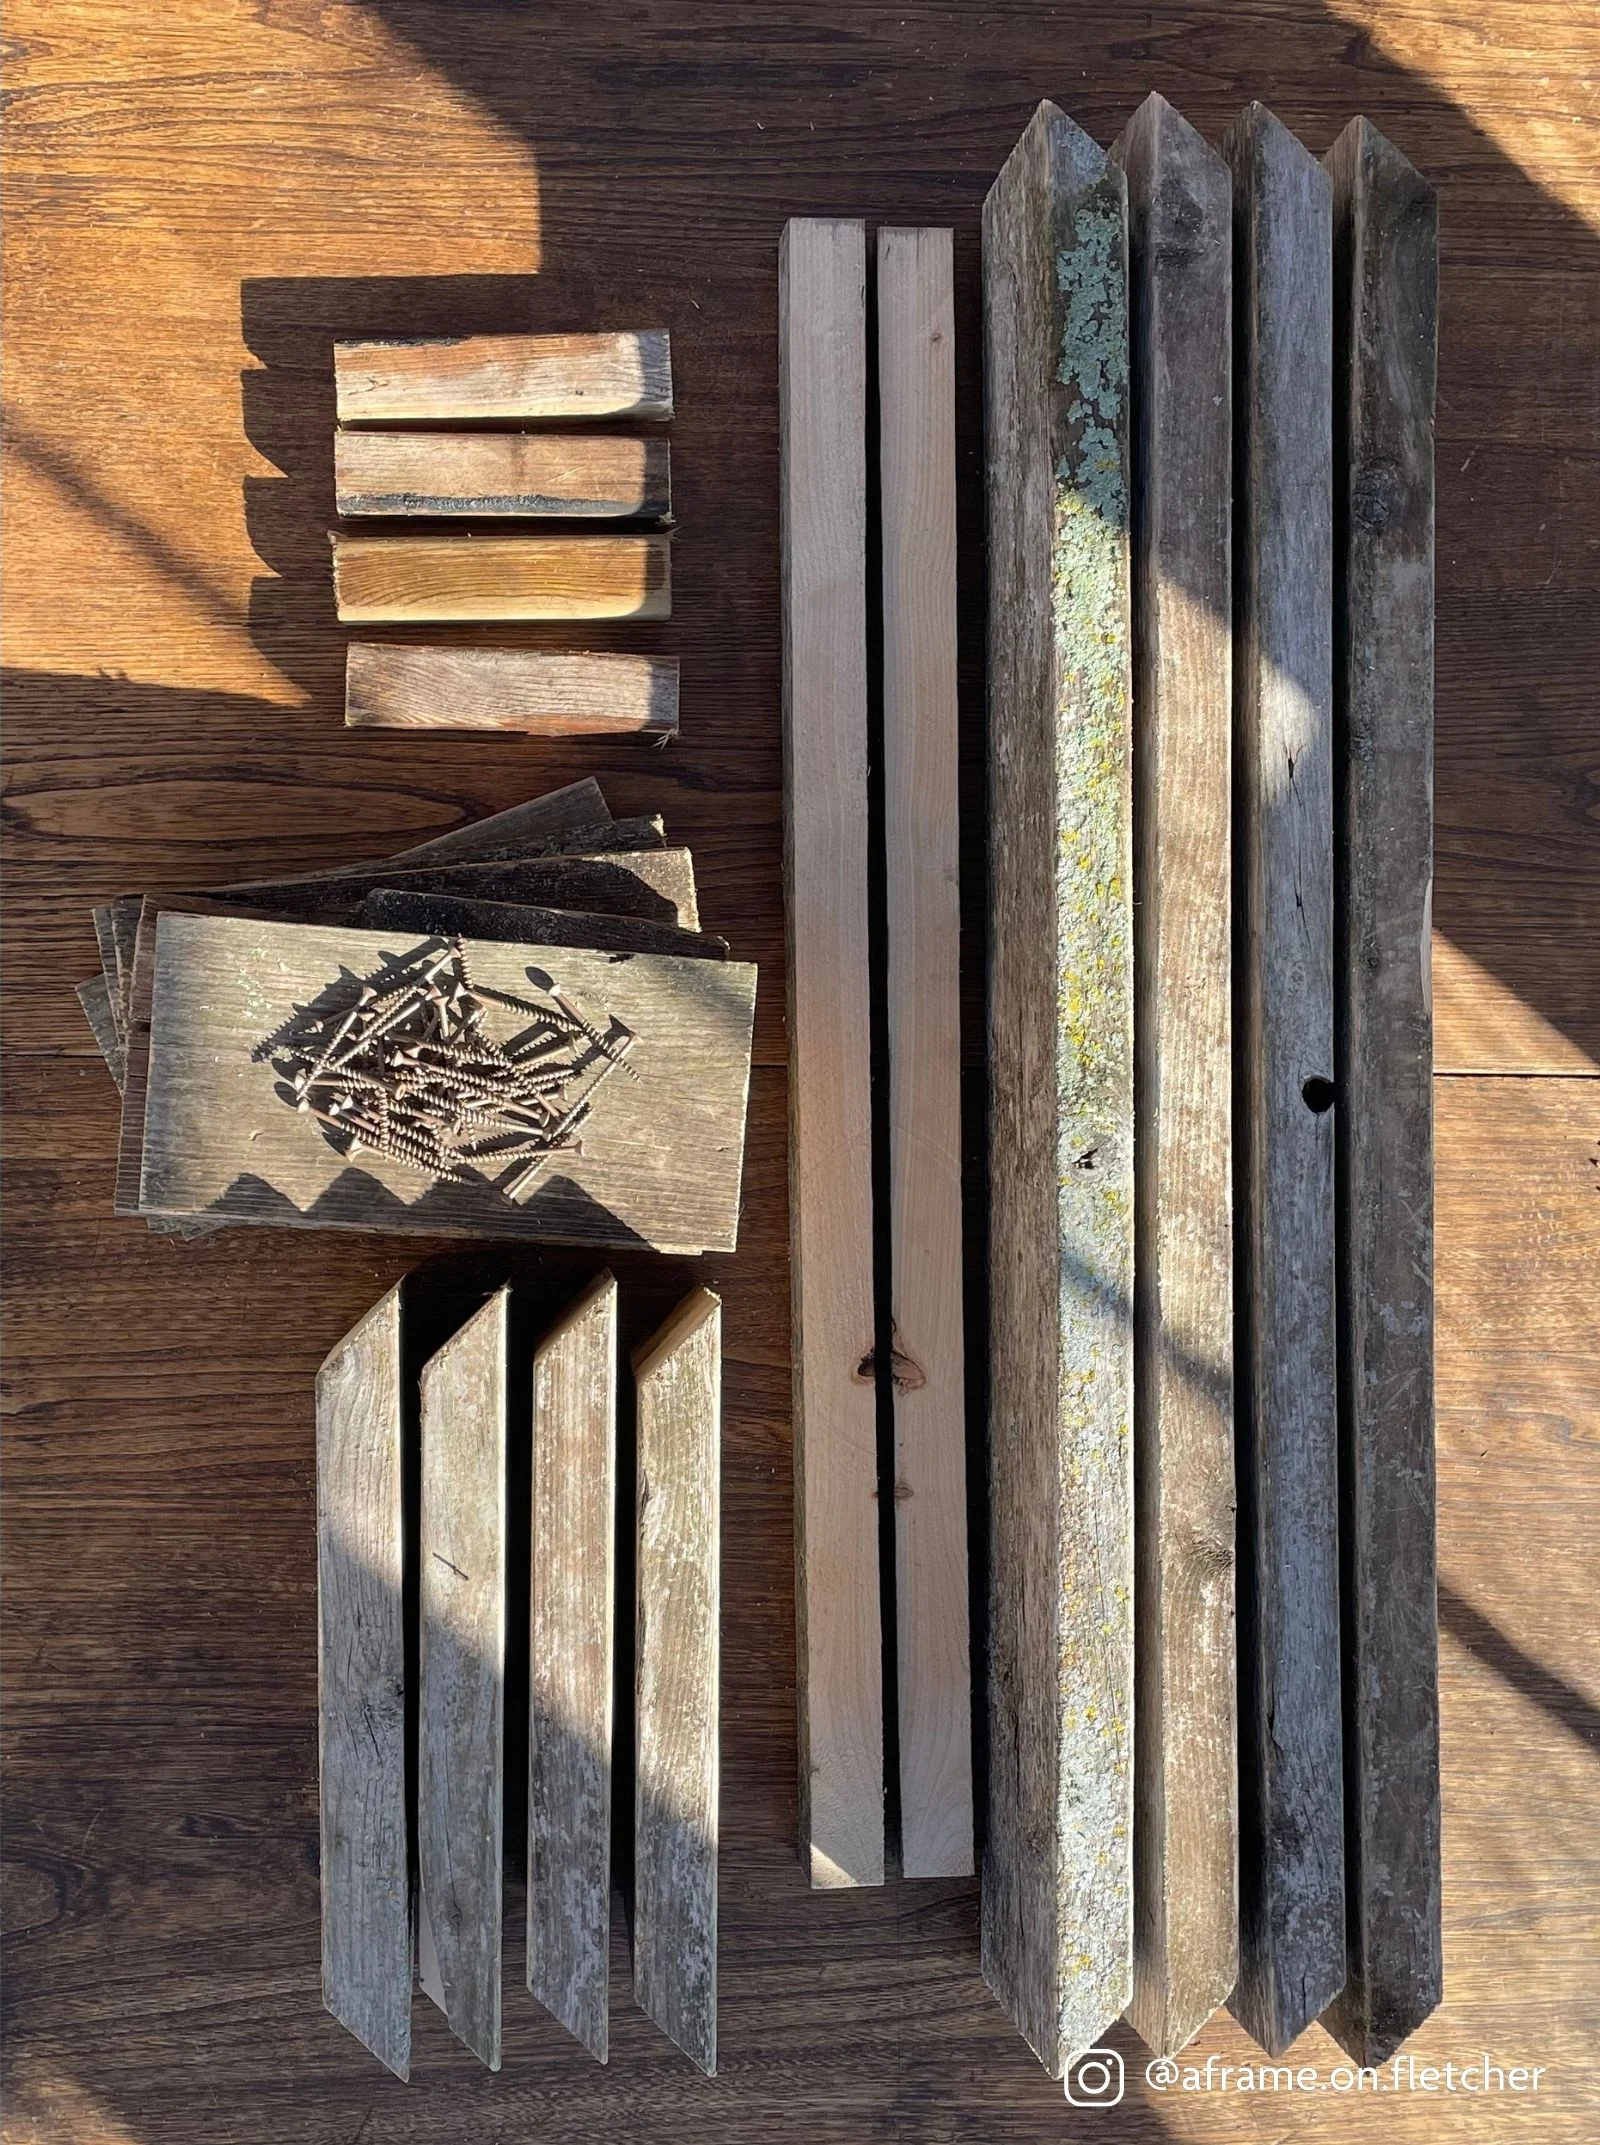
Step 2: Cut the lumber for the planter base
Determine the size you want your planter to be. We wanted our boxes to be approximately 3 feet long, 1 foot wide and 1 foot deep. For this size, our cut list is as follows:
For the sides: 4 pieces: 2”x6”x3’ 4 pieces: 2”x6x14”
Interior framing: 2 pieces 2”x2”x33” 4 pieces 2”x2”x7”
Bottom: 4 pieces 1”x8”x11”
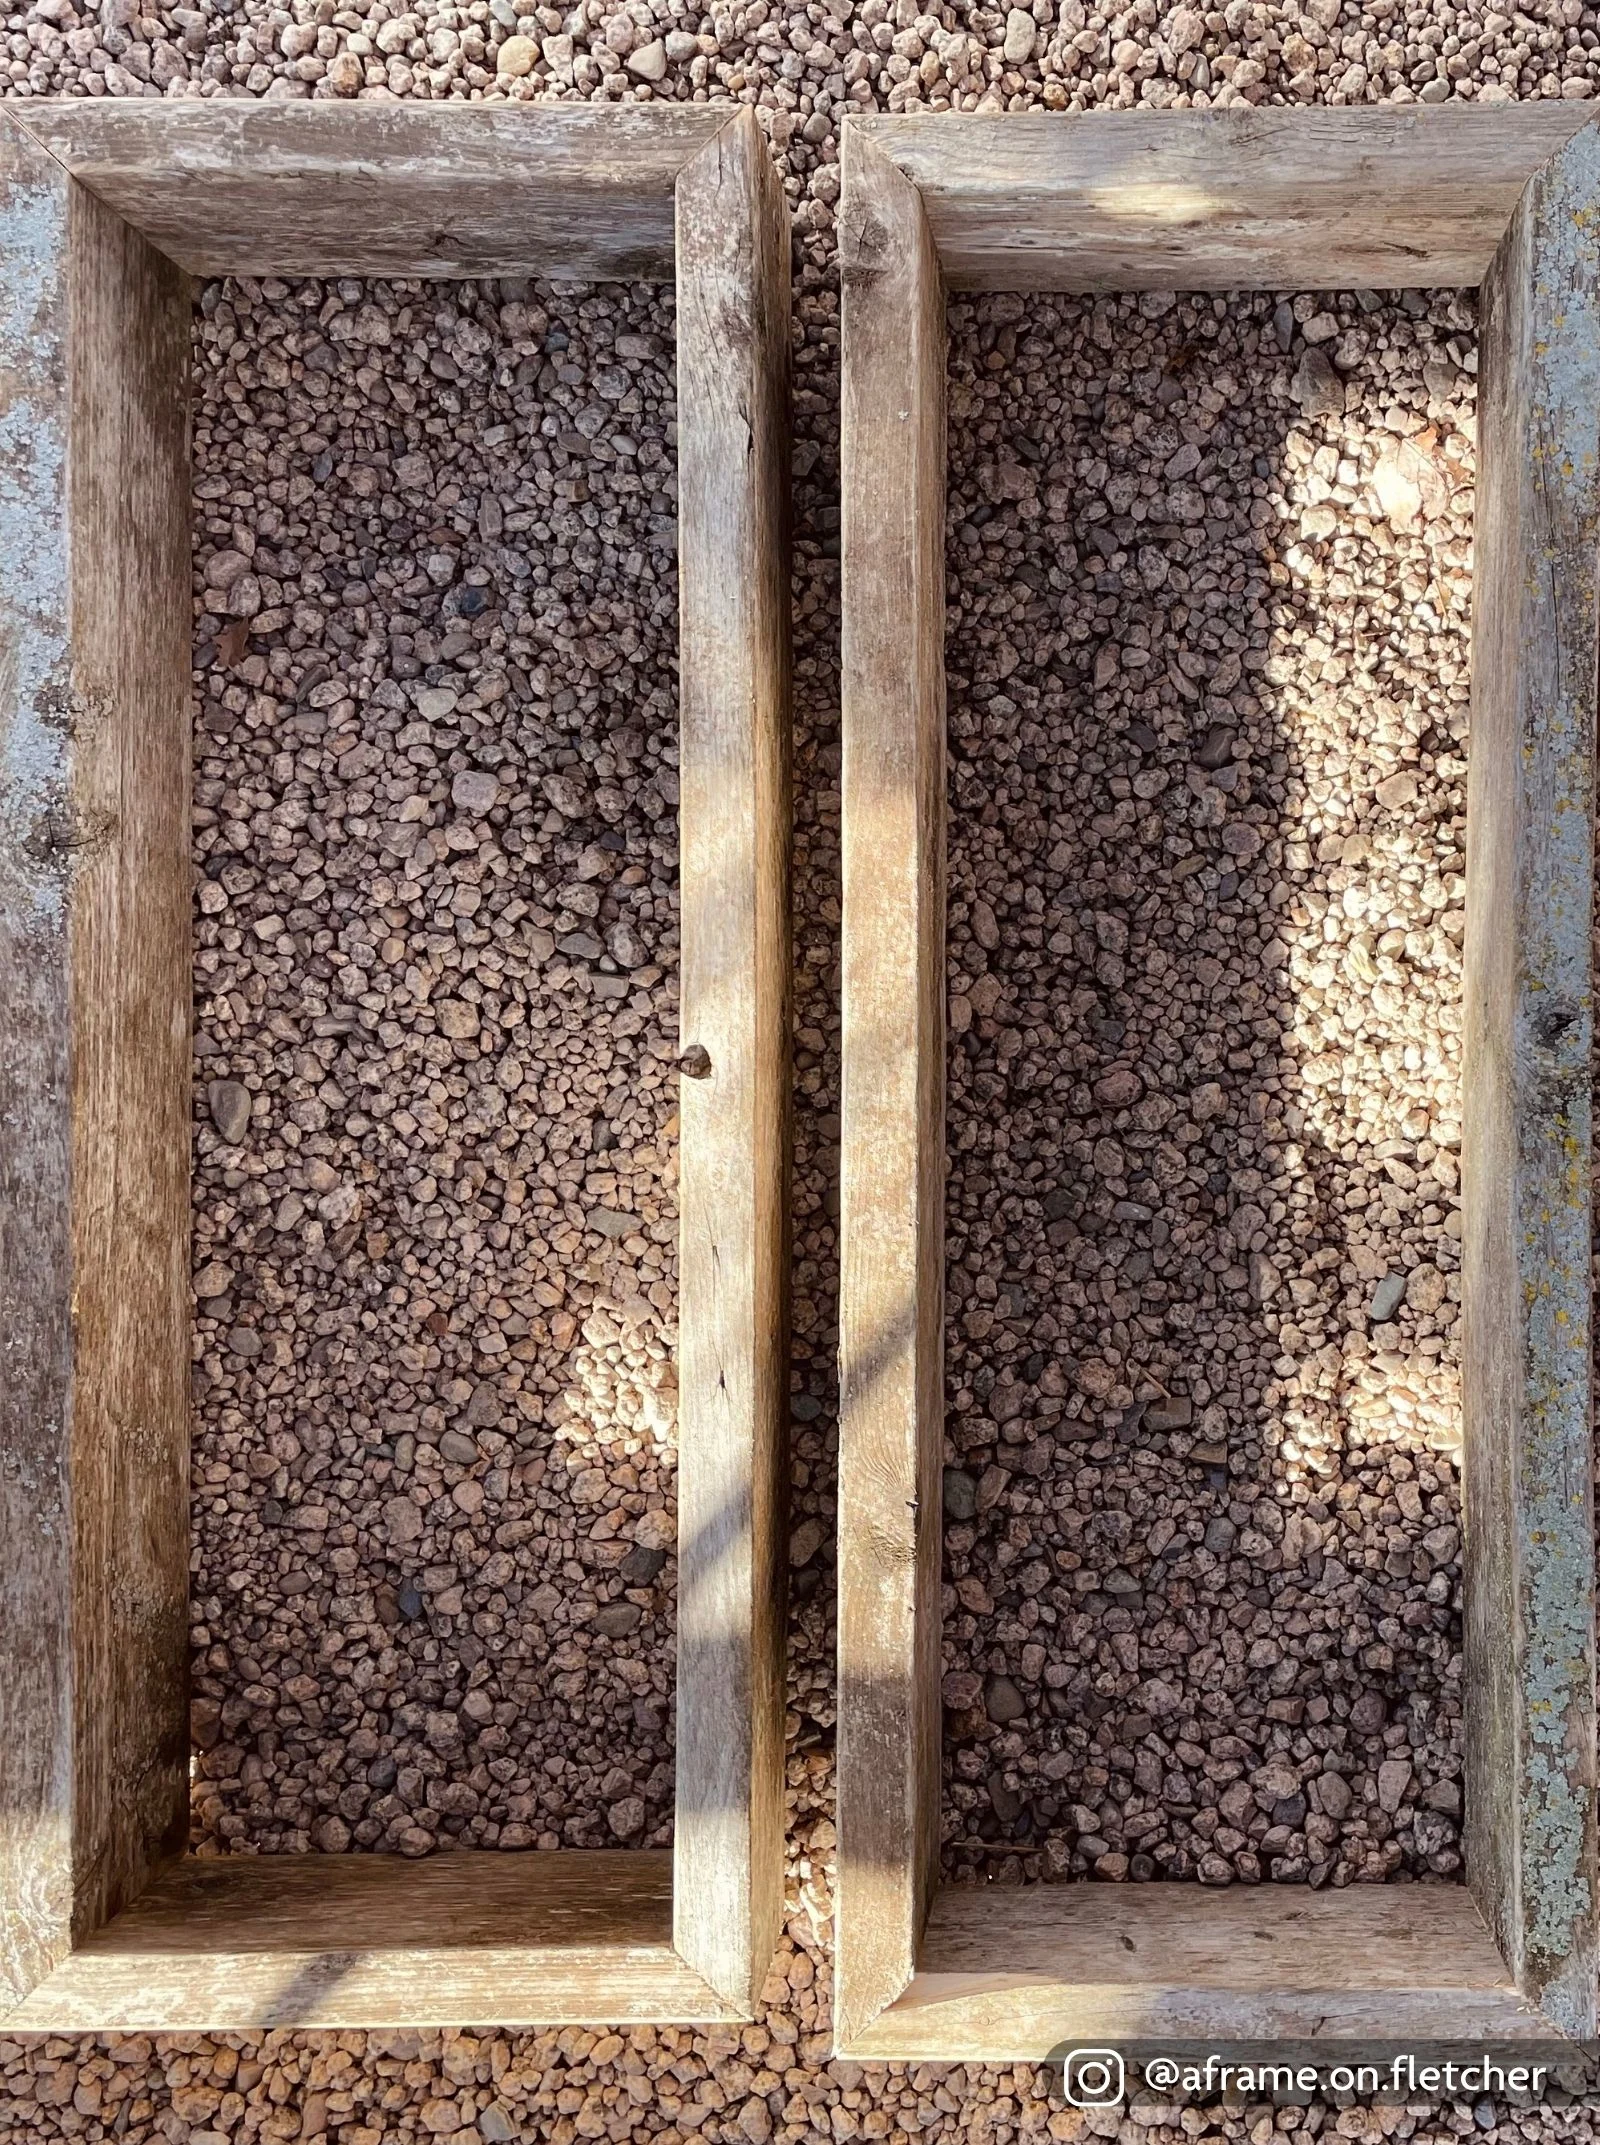
Step 3: Build the planter base
Place two of your long side pieces and two of your short side pieces into a rectangle to form your garden box frame. Attach the frame with two screws in each corner. You’ll want to create two of these since the wood is only 6” tall. This will give your garden box a depth of 11” once the bottom is attached.
Next, take your two 2”x2”x33” pieces and place them on both sides of the inside of the bottom of the box frame to create a ledge for the bottom pieces. Attach these with several screws along the whole length of the box.
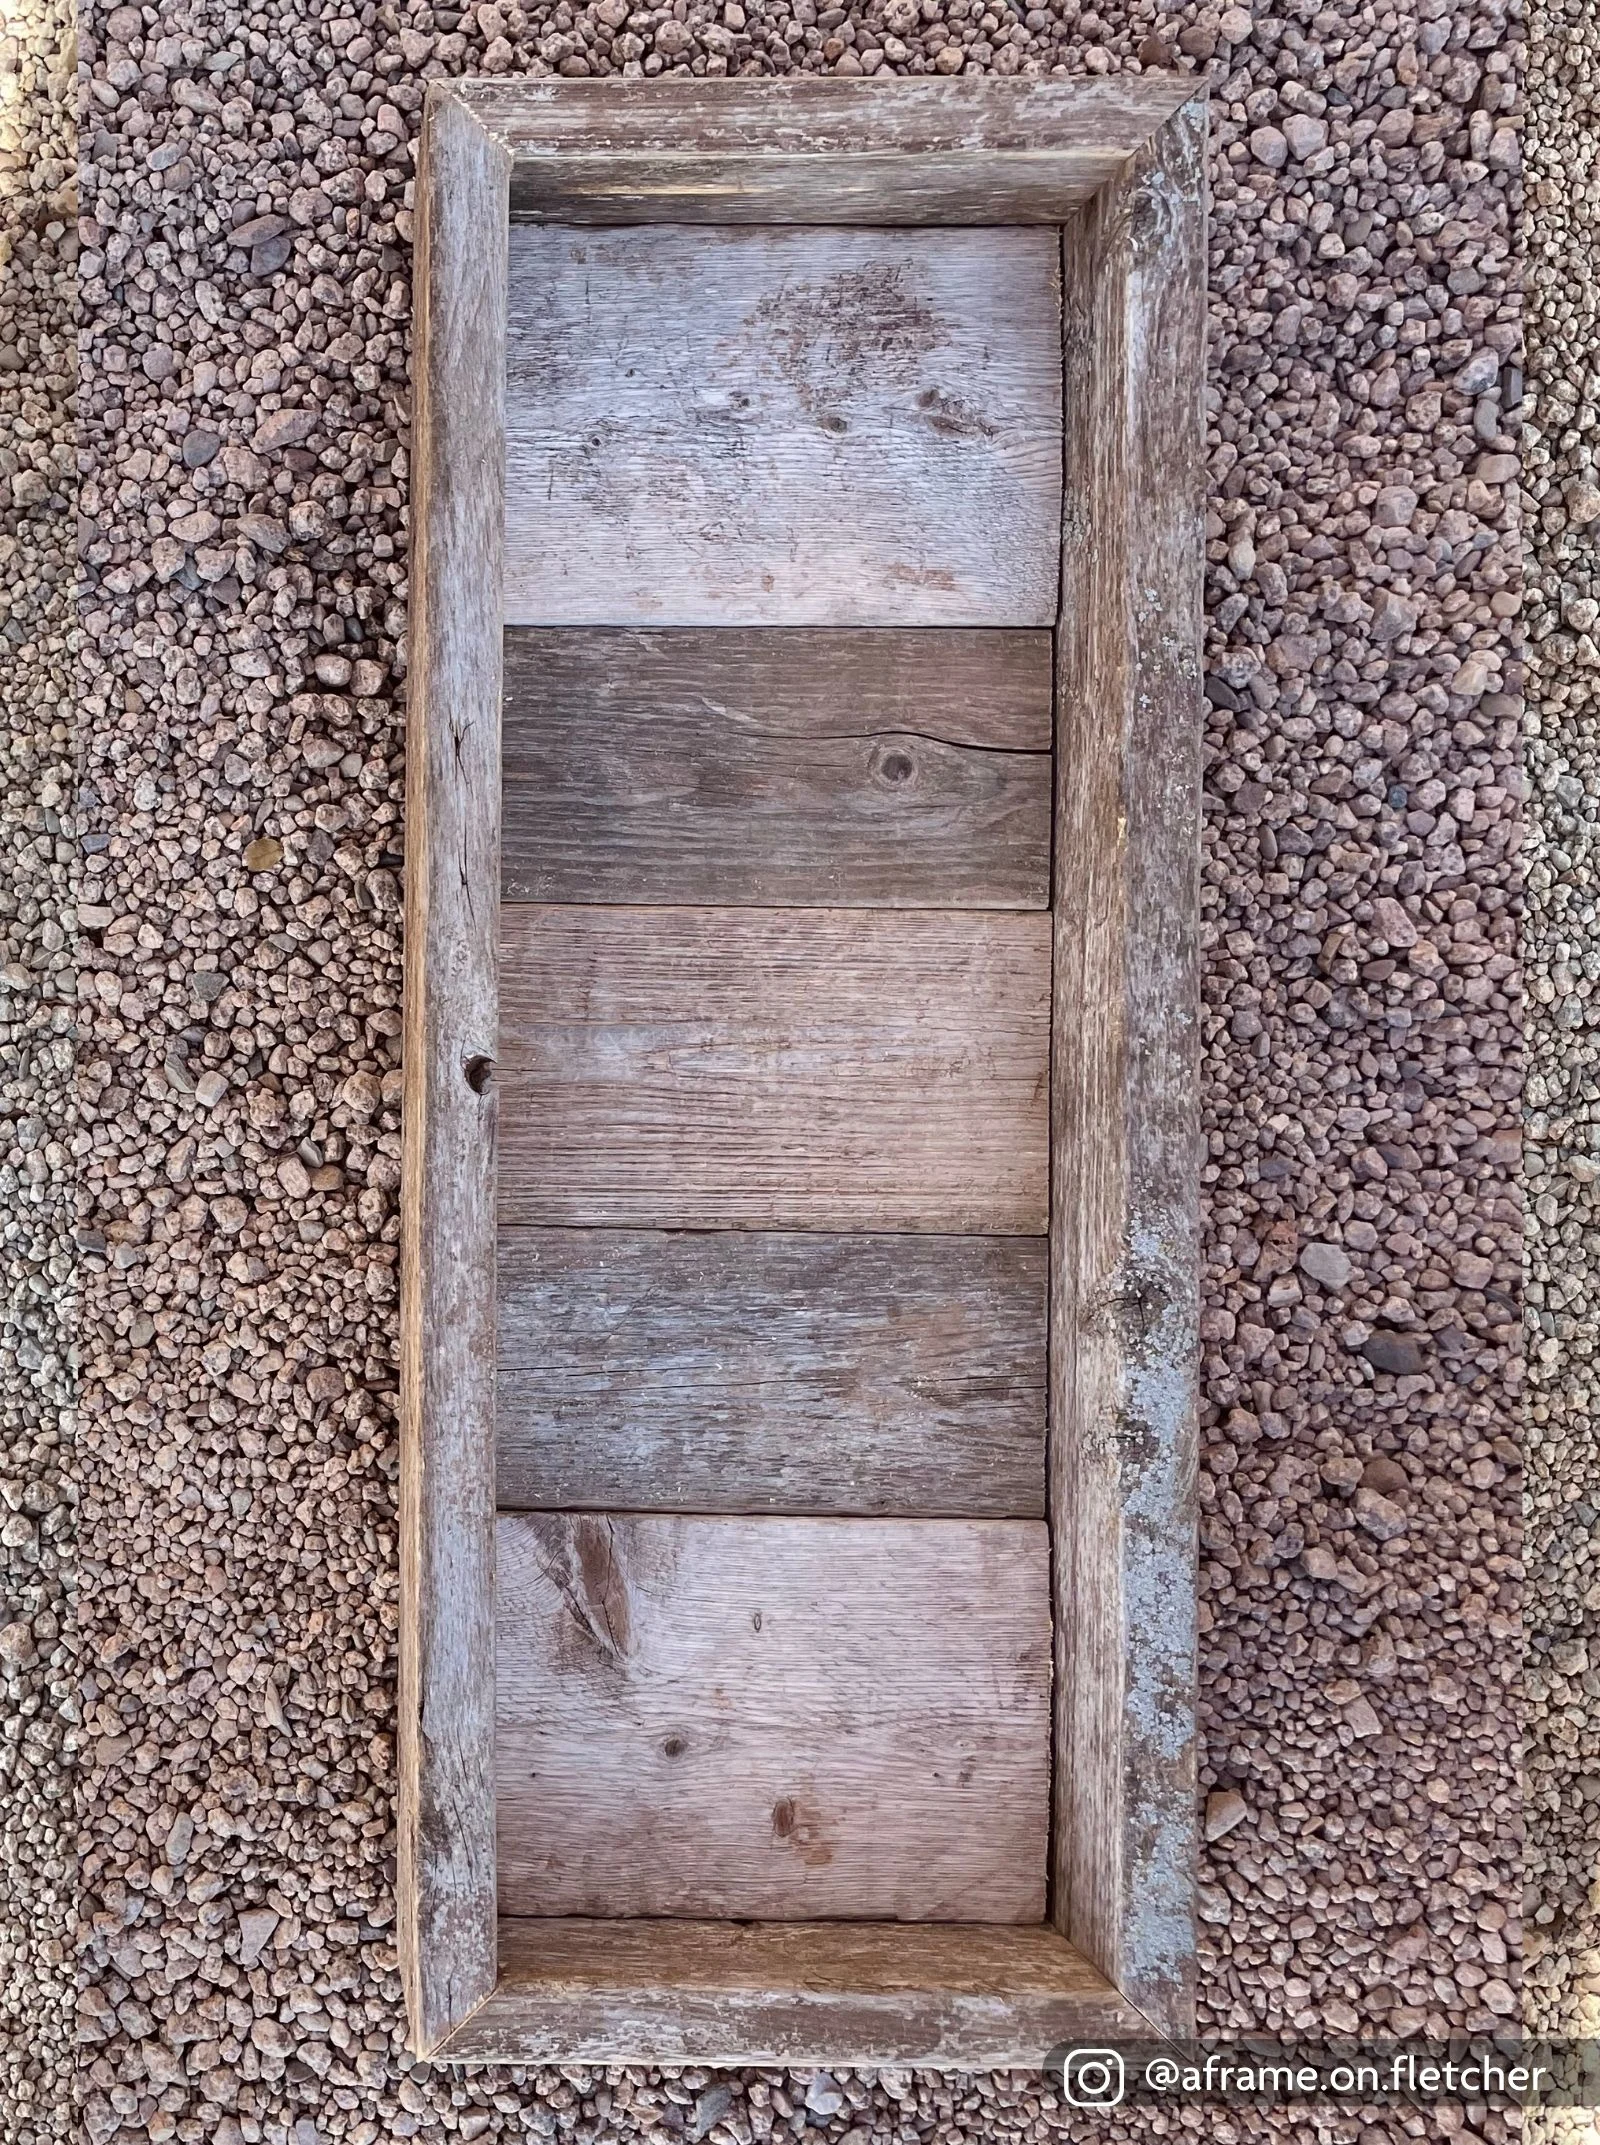
Then, screw down your bottom pieces to form the bottom of the box. Keep in mind, if you’re setting your garden box directly onto soil, you can skip this step and simply place your box onto a piece of cardboard to suppress weeds. The plant roots will eventually grow through the cardboard and into your native soil. Installing a bottom is recommended if you plan to place your boxes on a deck or balcony.
Place your second frame (if needed) on top of your first frame. Then take your 2”x2”x7” pieces and place them on the inside four corners of the garden box. These 2”x2” pieces will hold your two frames together. Place two screws in each 2”x2”, one through the bottom frame and one through the top frame.
Step 4: Sand and fill your planter boxes
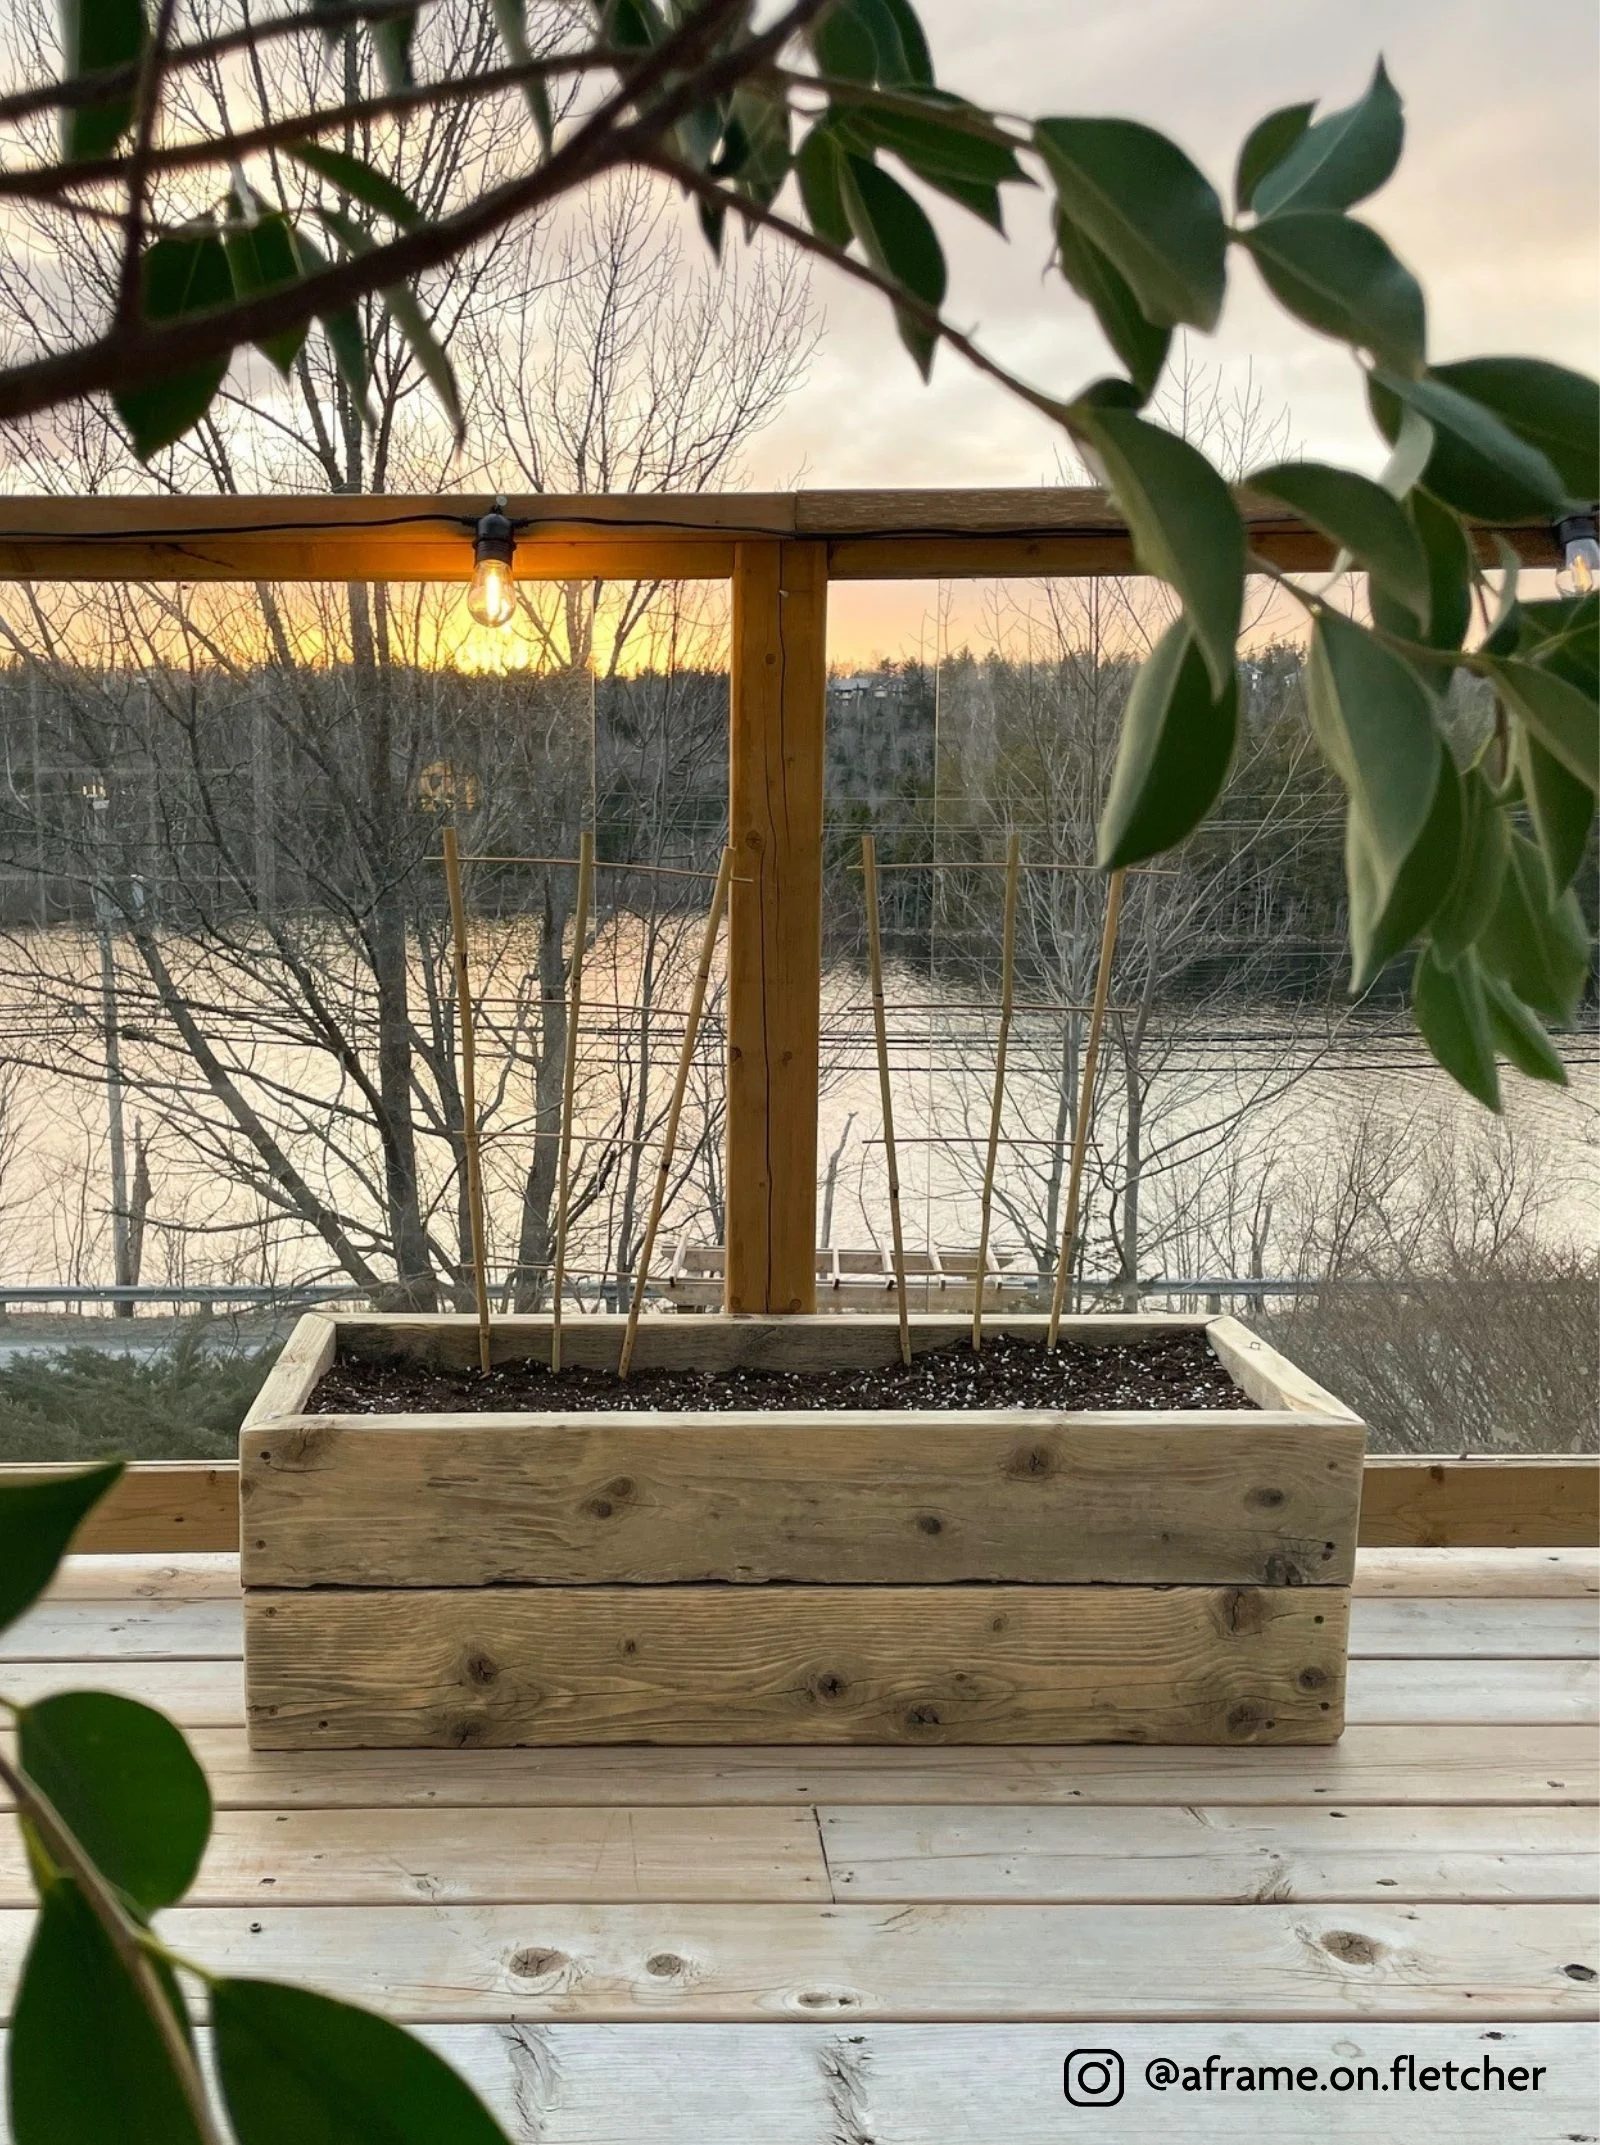
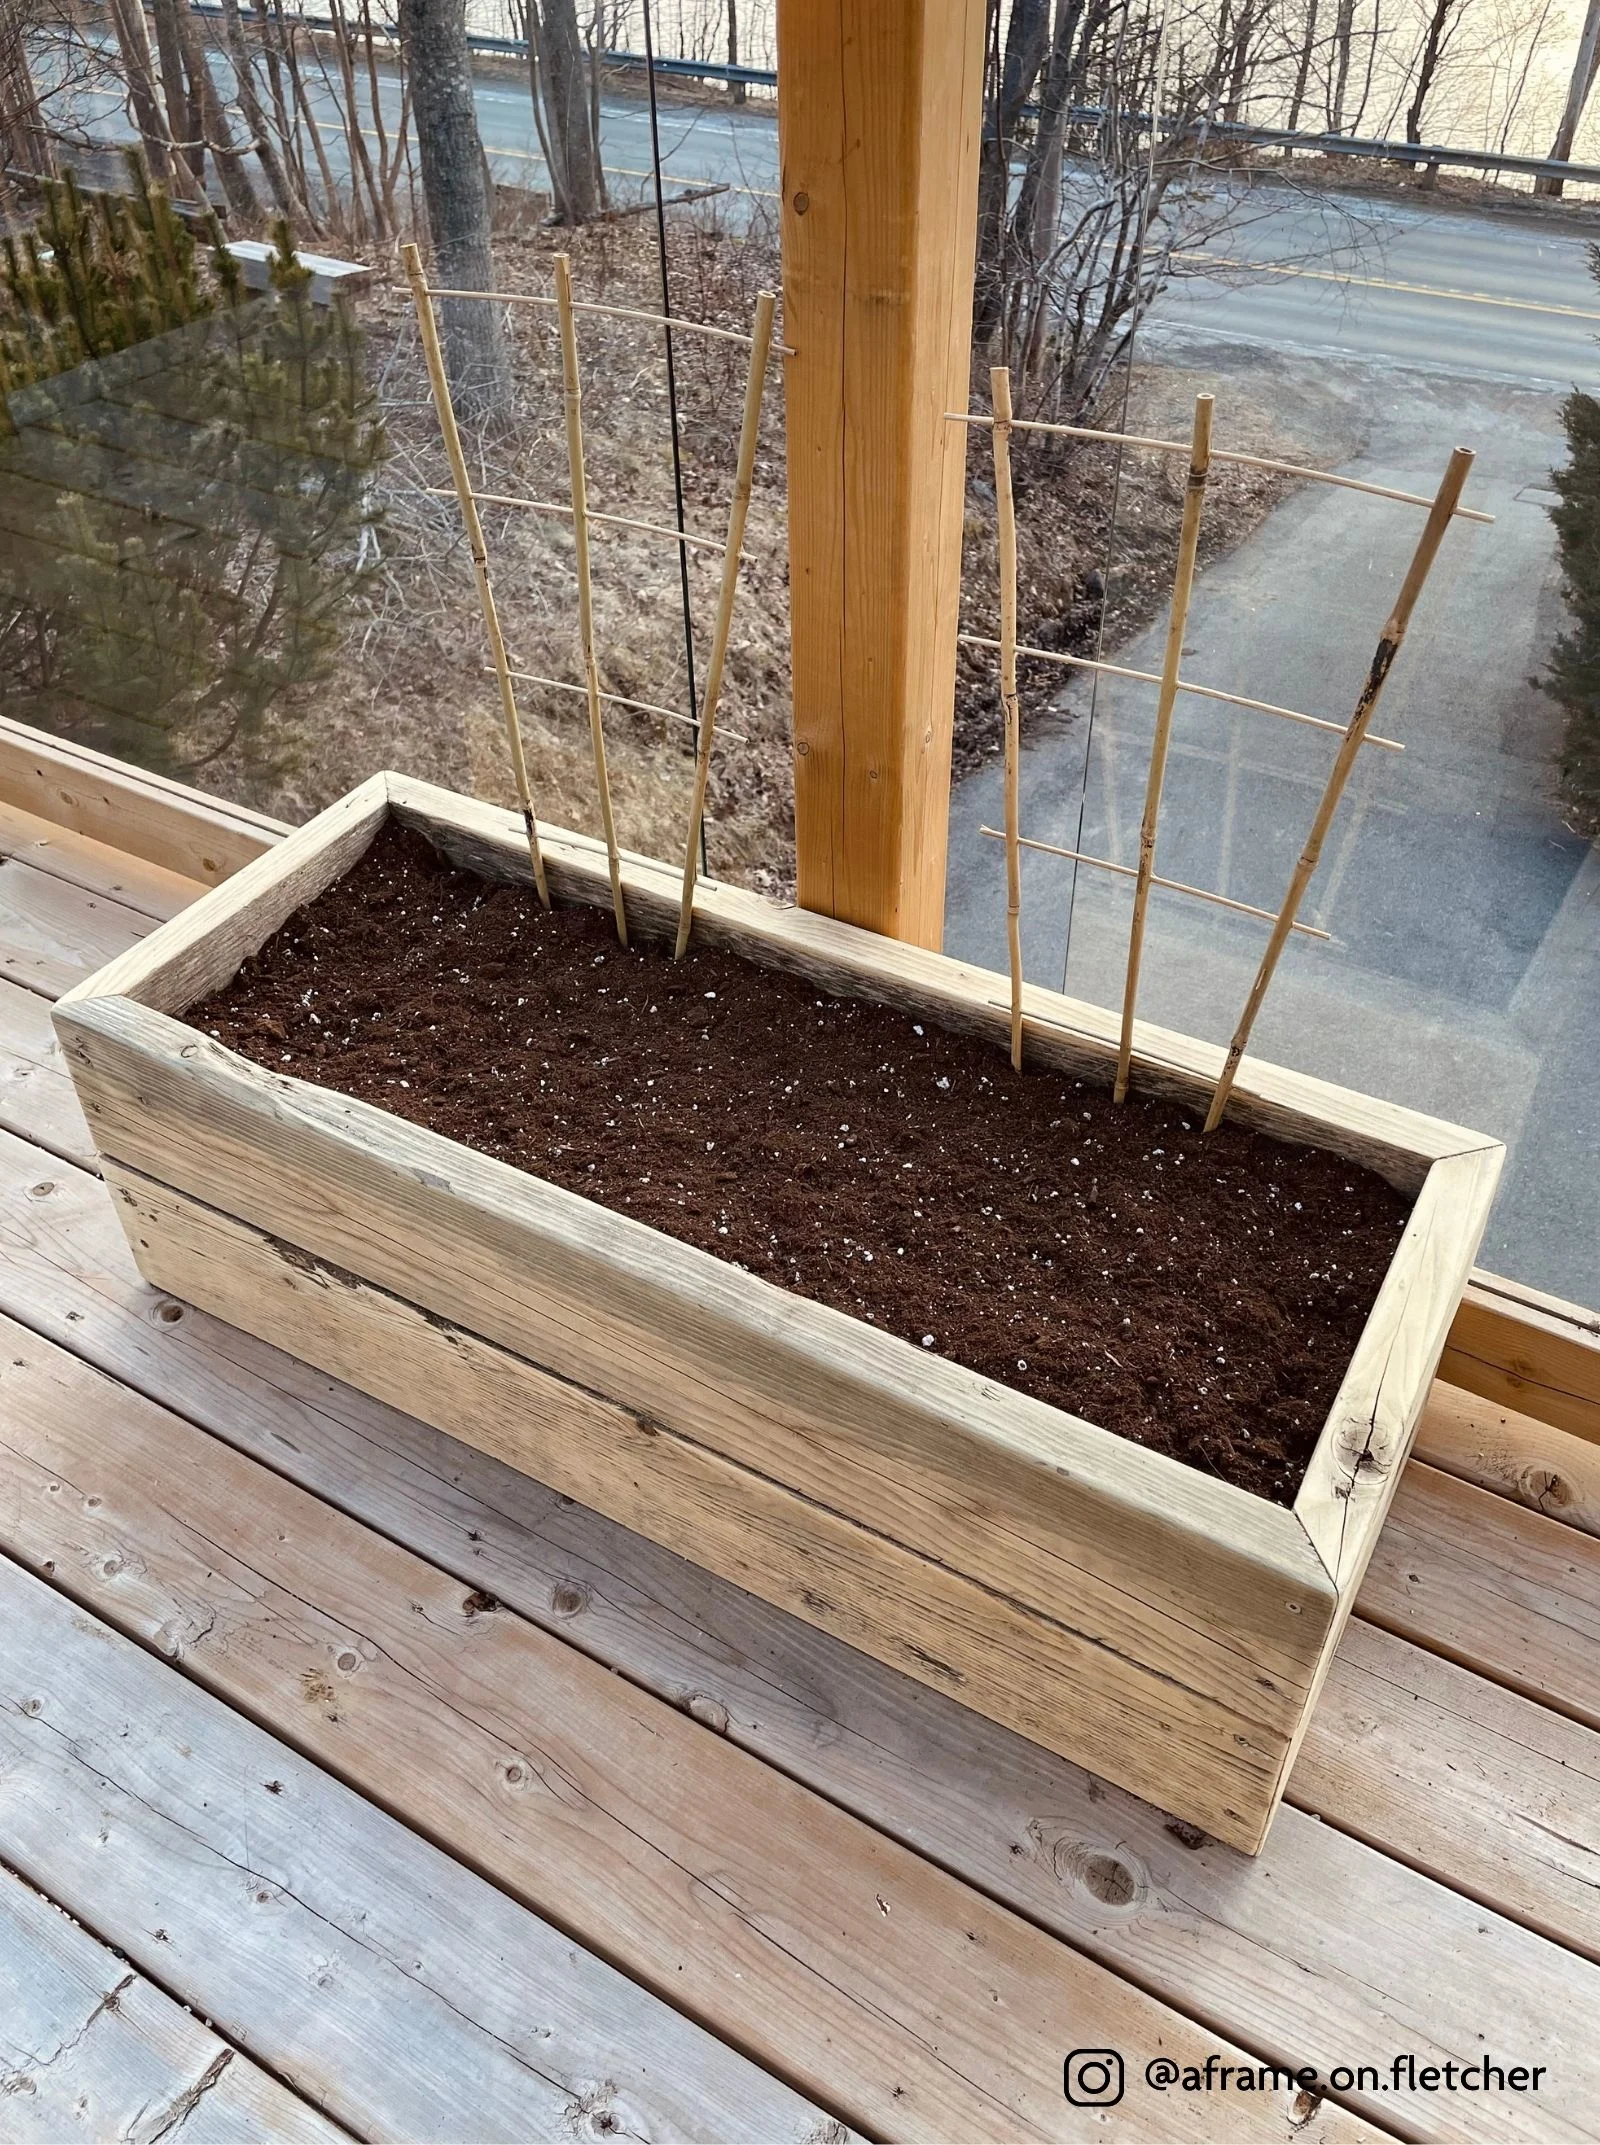
Give your garden box a good sanding with 60 grit, then 120 grit sandpaper. I recommend you drill several drainage holes in the bottom with a ½"spade bit. Before filling with potting soil, you may like to stain and seal, or choose to line your box with something to increase its longevity. ProMix potting soil is a great option. Add your bamboo trellises and you’re ready to plant!
Home Hardware has great sources for pollinator-friendly seeds to help feed the butterflies and bees all summer long. Enjoy your new garden boxes!