Search
x
Shop All
Store Locator
Search
Order Status
Log In
List
Cart
Flyer
Here's How
Patio & Outdoor Furniture
PRO
Deals
BeautiTone
Français
Trending Searches
Patio Furniture
BBQ
Vanity
Wheelbarrow
Shed
Soil
Garden Hose
Humidifier
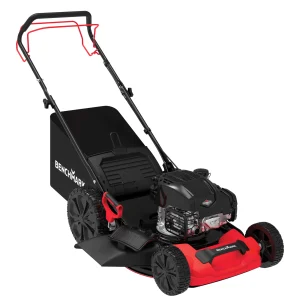
Lawn Mower
Dehumidifier
Javascript is required to get products info
Featured Categories
Outdoor Power Equipment
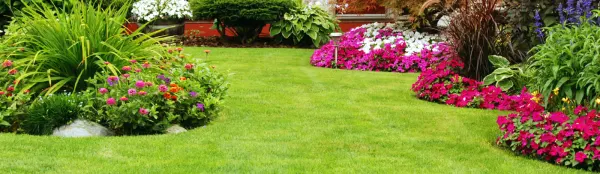
Lawn & Garden Centre
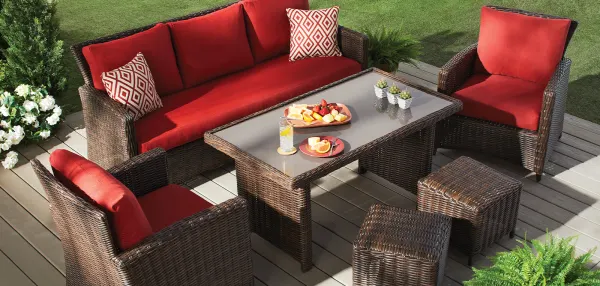
Patio and Outdoor Furniture
Outdoor Cooking
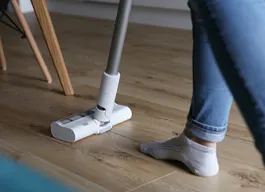
Cleaning
Bath
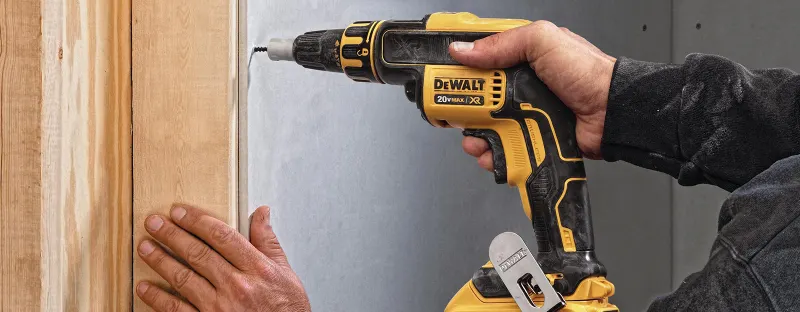
Power Tools
Kitchen
Small Appliances
Storage & Organization
Paint
Lighting
Here's How
View All
Article
Buying Guide
Article
Article
Locally owned.
Genuinely Canadian.
Featured Brands
javascript is required to sign up for newsletter
About Us
About Us
Become a Dealer
About Home Hardware
Careers
Store Locator
Supplier Guide
Media Releases
Legal
Legal
Safety Data Sheets
Privacy Policy
Terms and Conditions
Sitemap
Help & Support
Help & Support
Return Policy
Product Recalls
Website Pricing
FAQs
Contact Us
Recycling Programs
Services
Services
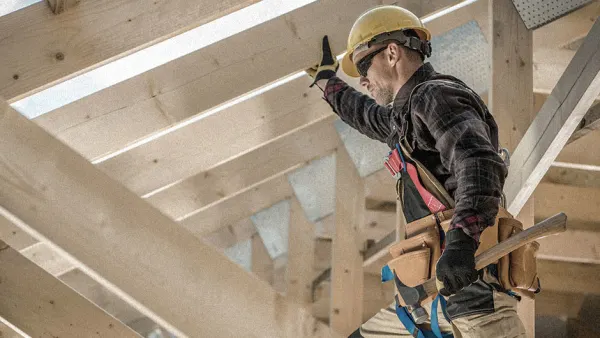
HH PRO - Contractor Services
Home Installs
Rentals
Home Gift Card
Financial Services
Home Hardware Family
Home Hardware Family
Inspiration is always handy
© 2018 Home Hardware Stores Limited. All rights reserved.
Site Navigation
back to top
Products
Appliances
BBQs & Outdoor Cooking
Backyard Projects
Bath
Building Materials
Cleaning
Electrical
Everyday Living
Floors & Area Rugs
Hardware
Heating, Cooling & Air Quality
Kitchen
Lawn & Garden Centre
Lighting & Ceiling Fans
Outdoor
Outdoor Power Equipment
Paint
Patio & Outdoor Furniture
Plumbing
Storage & Organization
Tools & Accessories
 Article
 Buying Guide
 Article
 Article